The Home button iPhone 4 is the most used key on this smartphone, which is why it is most often the first to break down. We will show you how to replace the Home button with iPhone 4s and 4 with your own hands, without going to the salon.
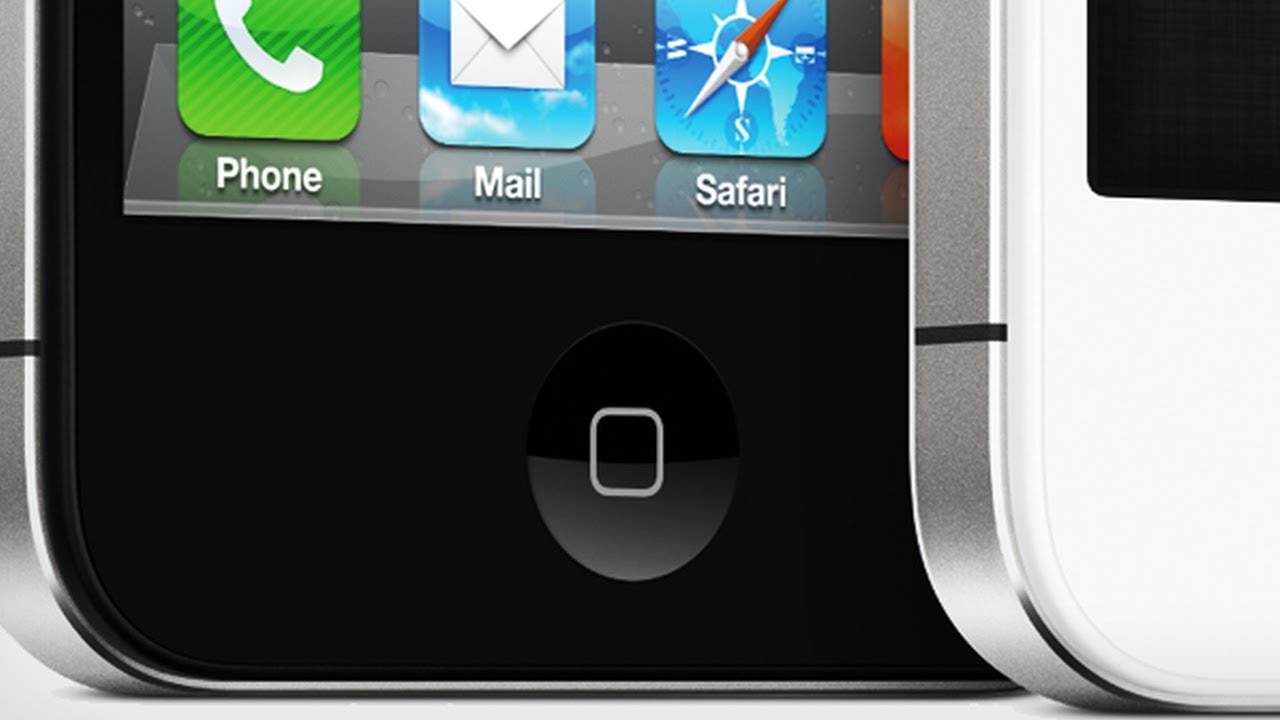
The Home button is the most commonly used hardware feature iPhone and is usually the first to fail. If the warranty has expired and the Home button on the iPhone 4 is a recurring problem, try repairing it yourself. It is much cheaper than buying a new gadget. Is it possible to replace the Home button with iPhone 4 and 4s on our own?
To replace the Home button with iPhone you need:
- new button and flex cable;
- 5-point screwdriver;
- Phillips # 000 standard screwdriver;
- mounting blade;
- razor blade;
- a special spatula for penetrating under the adhesive layer;
- SIM eject tool or paperclip.
Switch off the device before carrying out any repairs.
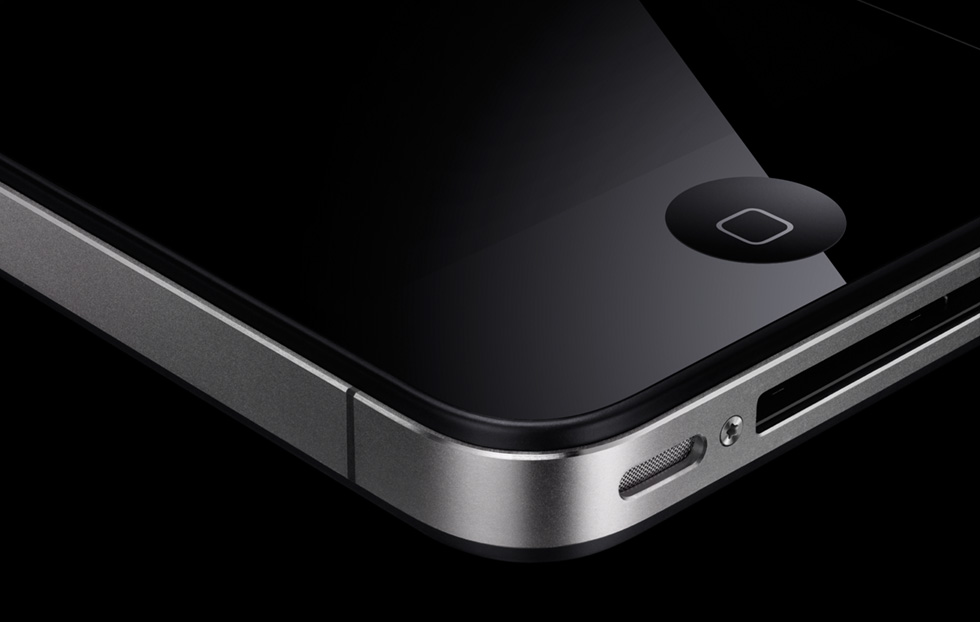
- How to change the home button to iPhone 4 and 4S yourself. Instructions
- Open the back cover
- Remove battery and grounding clip
- Remove logic board screens
- Disconnect the logic board cables and remove the rear camera
- Disconnect the dock connector
- Bend the antenna
- Take out SIM card and tray
- Remove the logic board
- Remove the speaker module
- Separate the vibrator module
- Remove digitizer and LCD
- Replace the Home Button Flex Cable
- Put the gadget back together
- Differences in 4 Series iPhones
How to change the home button to iPhone 4 and 4S yourself. Instructions
Open the back cover
- Using a 5-point screwdriver, remove 2 screws from each side of the main connector.
- Gently slide the back plate by applying light pressure from the bottom with your fingers and sliding it up.
- Remove the back cover and set aside.
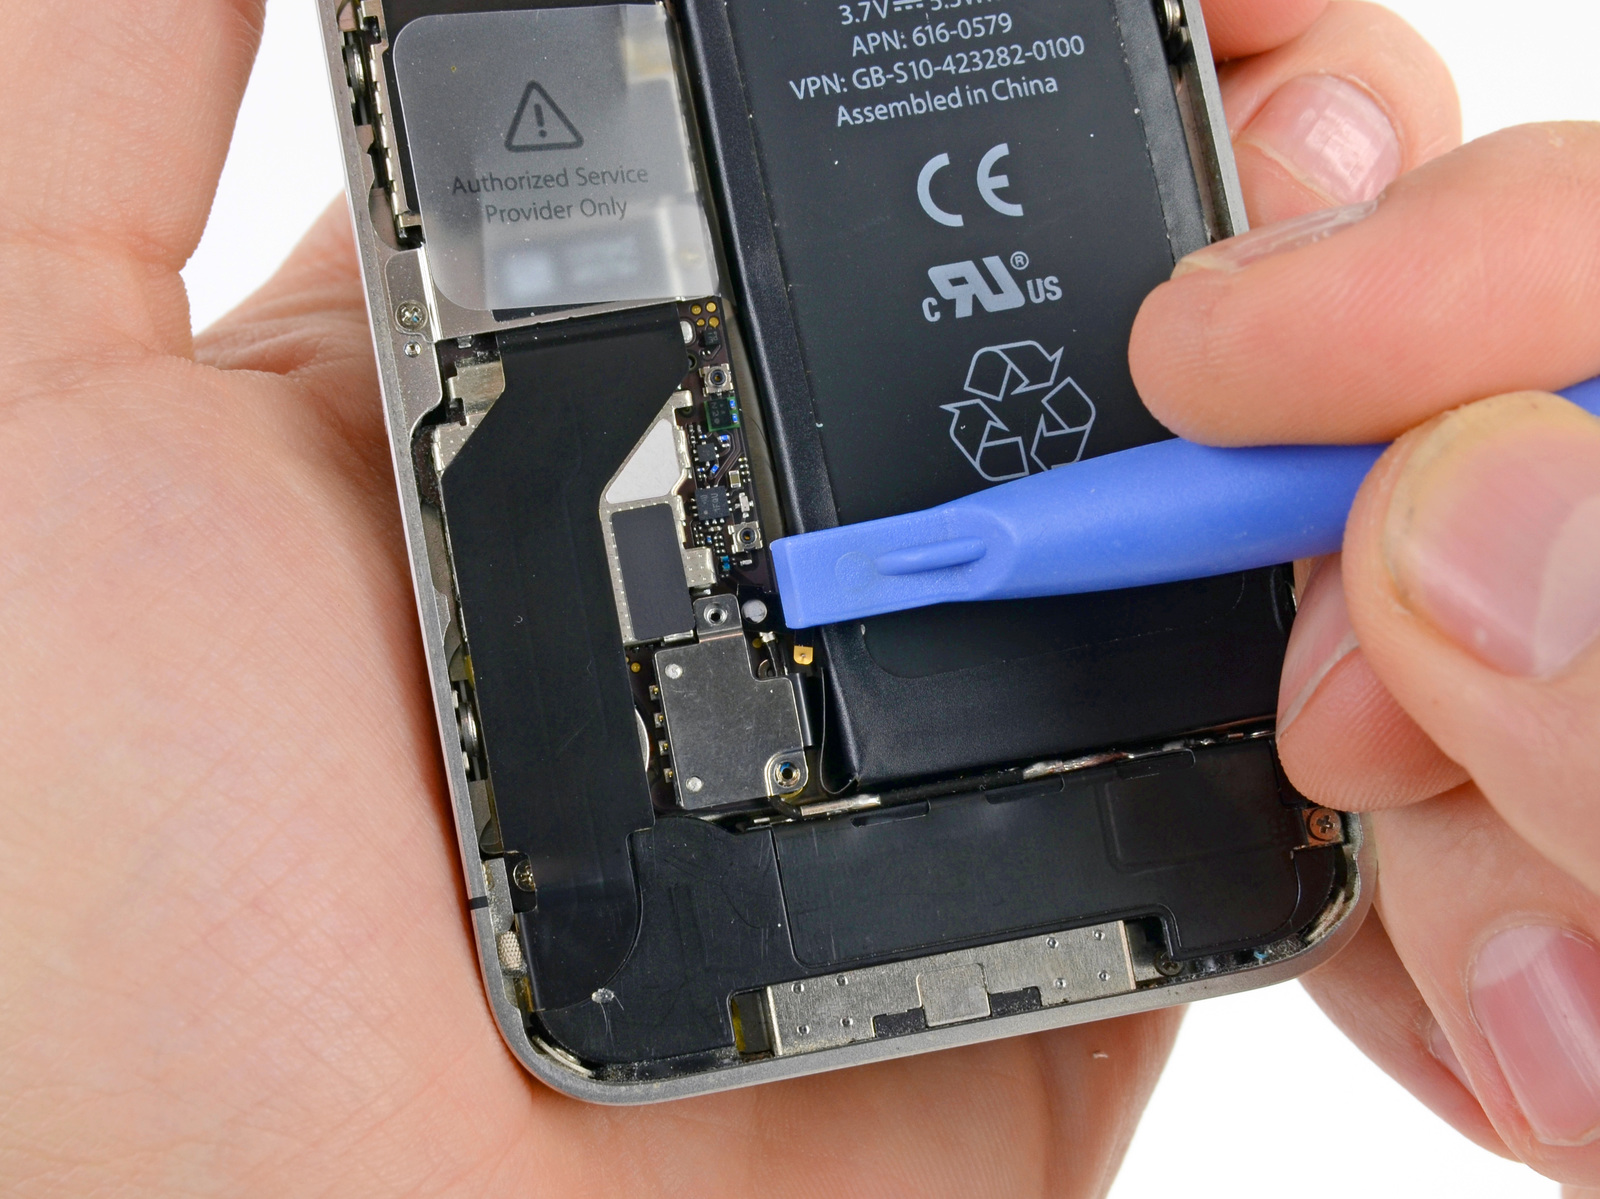
Remove battery and grounding clip
- Use a # 000 Phillips screwdriver to remove the two screws securing the battery.
- These screws are of different lengths, so remember where each one was.
- There is a small grounding clip under the battery. Separate it with a mounting spatula and only then remove the battery clip.
- Move to the side iPhone where the volume buttons are located and gently pull out the battery. It is glued to the machine. Gently pick it up with a thin spatula from the bottom up so as not to bend it. If any part does not come off, try to pick it up from different sides, being careful not to touch the cables on top of the volume control button.
Remove logic board screens
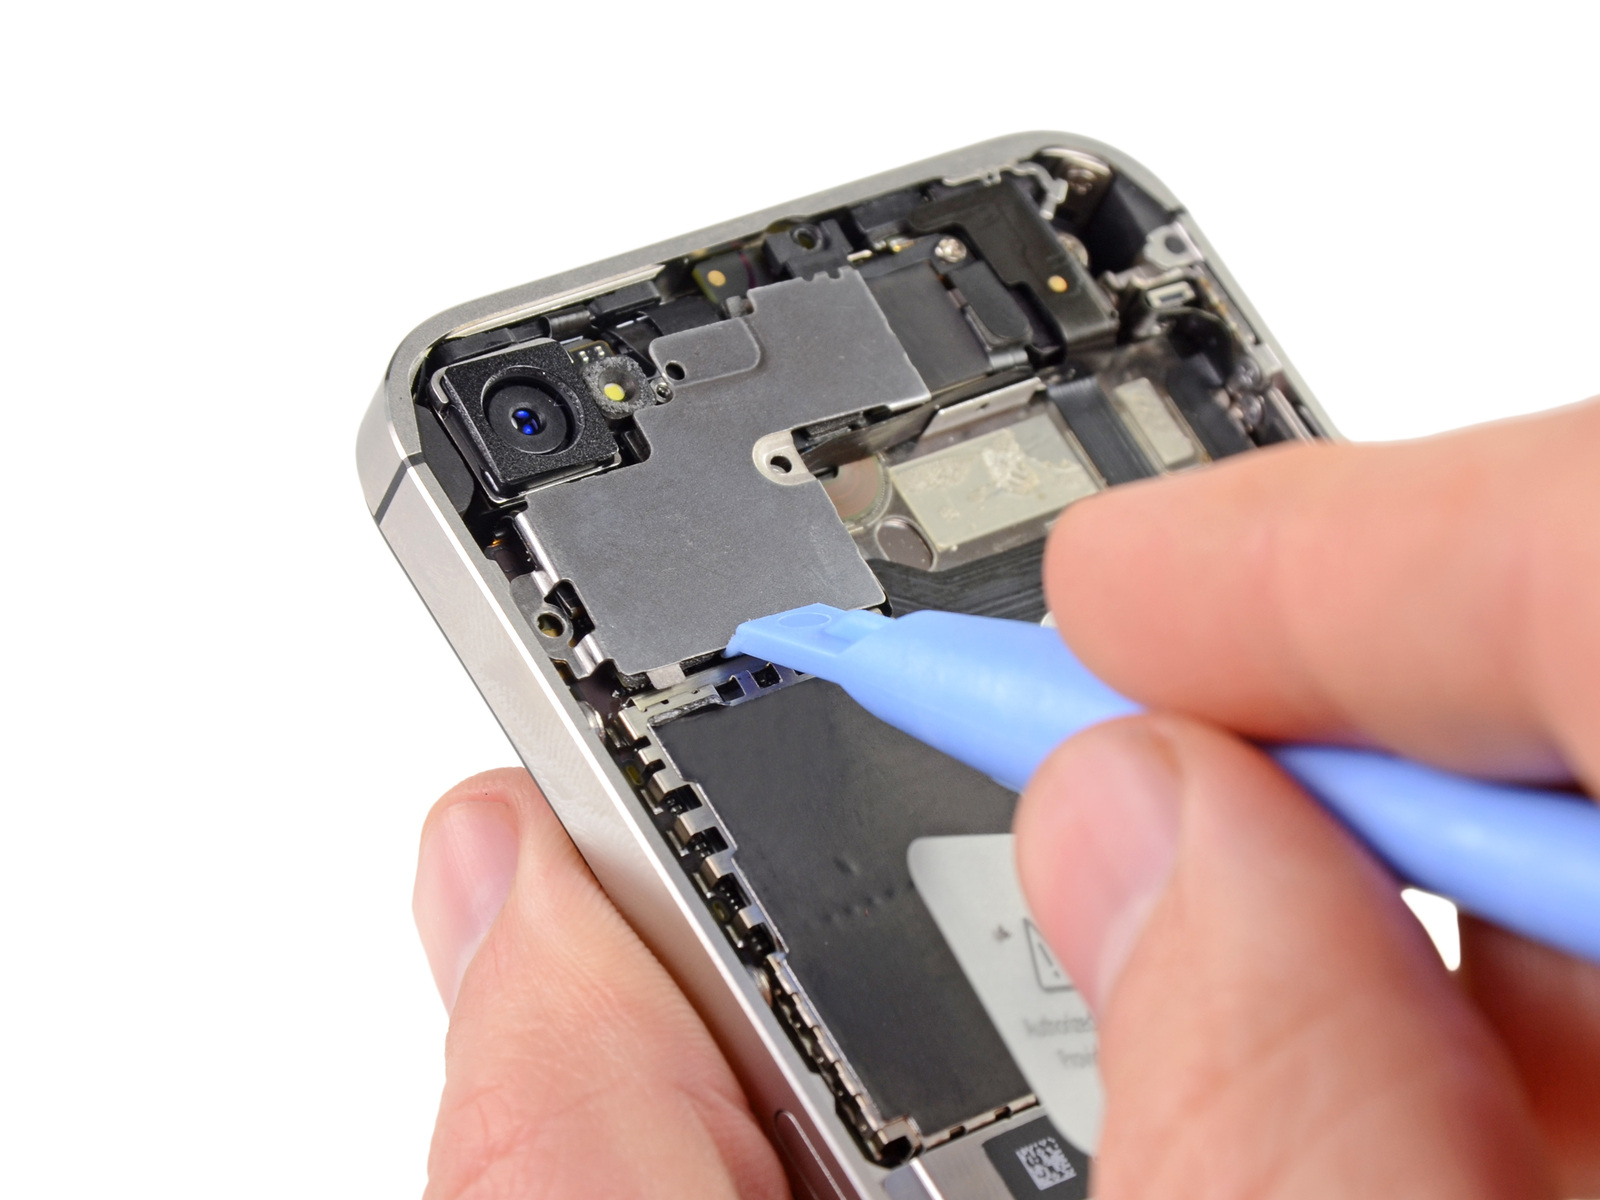
- Remove the four screws holding the top silver shield.
- Remove the screw that secures the small black shield.
- Using a spudger, carefully remove the silver and then black screens from the iPhone.
- Set both shields aside and make sure you remember the purpose of each screw for reassembly.
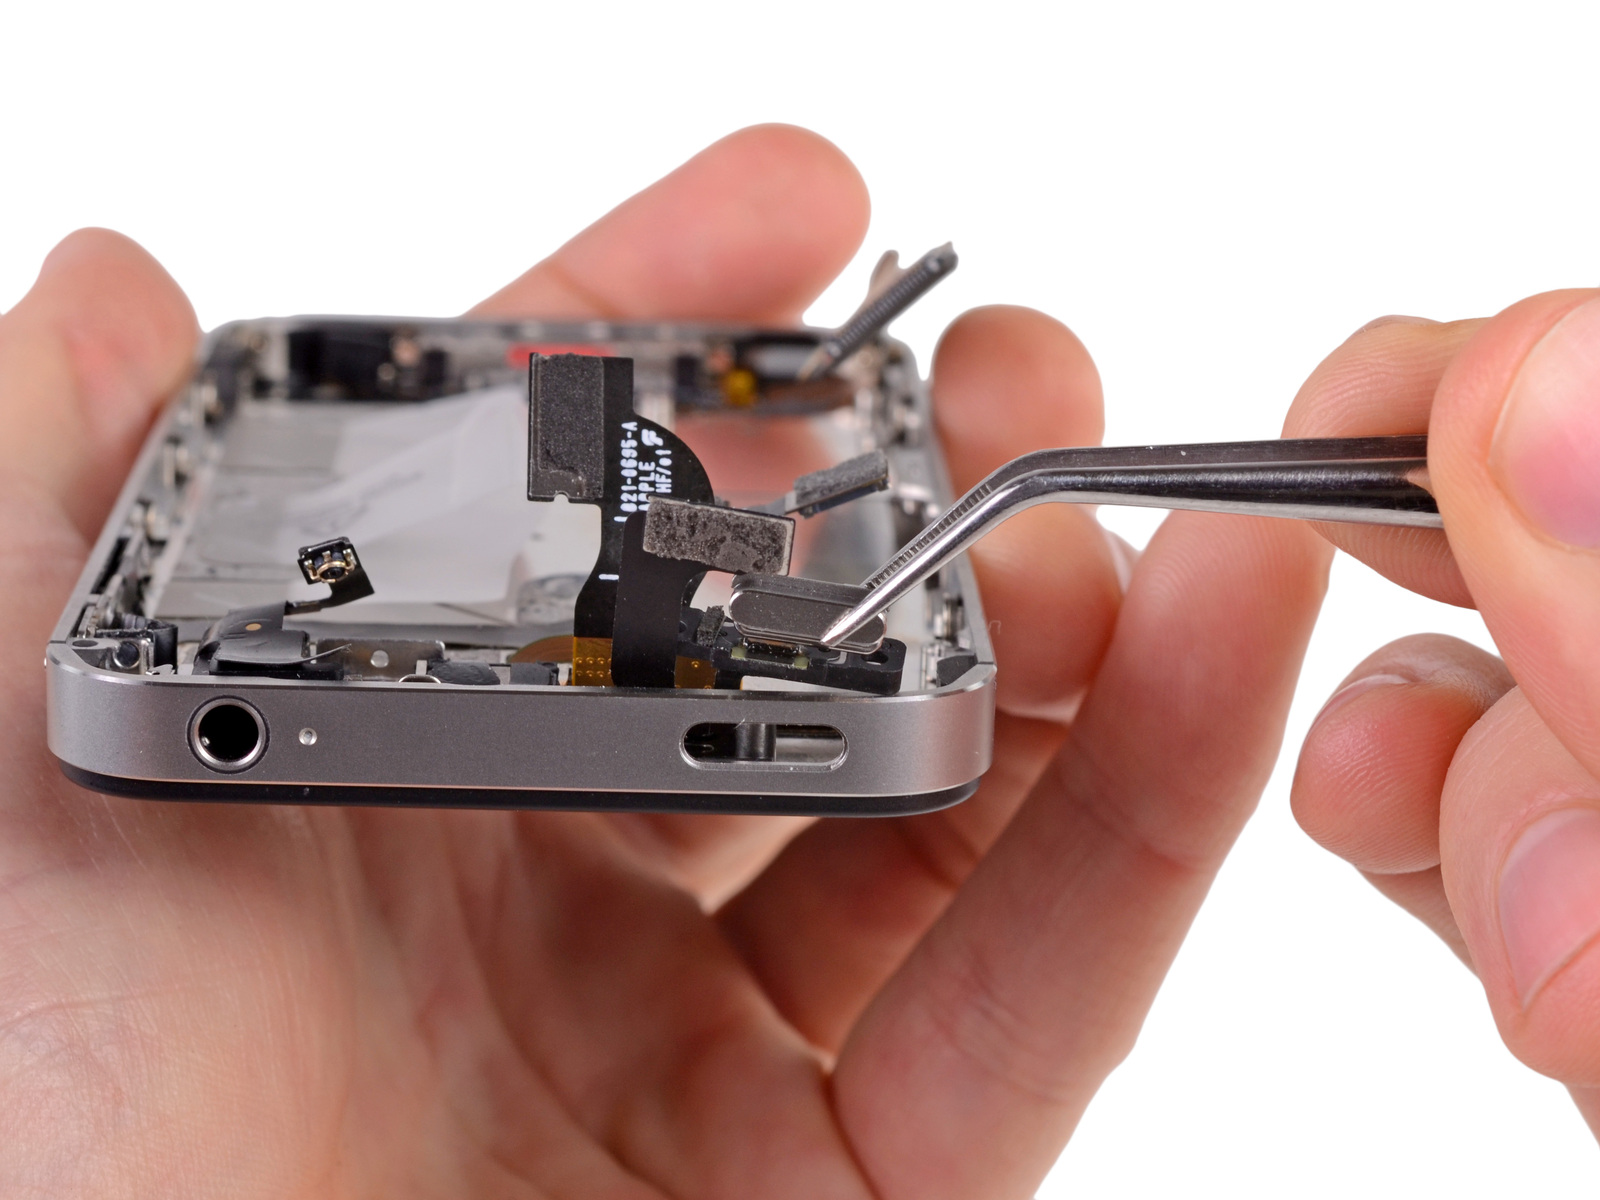
Disconnect the logic board cables and remove the rear camera
Disconnect all cables carefully at the top of the board. There will be seven cables in total. One of them is hidden under the bottom connector. After disconnecting all 7 cables, take out the rear camera.
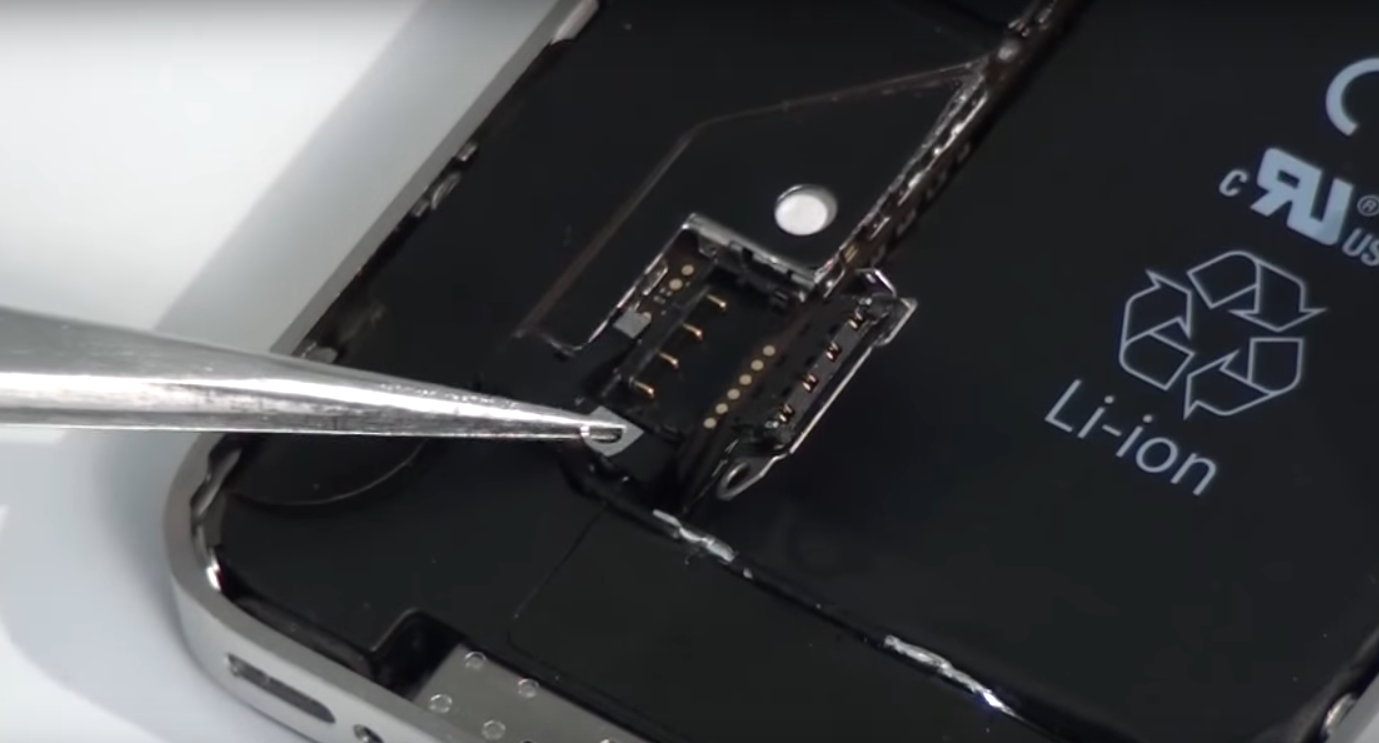
Disconnect the dock connector
- Unscrew the Phillips screws and remove the shield covering the dock connector cable. Remember the position of each piece of the fastener as they are different sizes. Gently pull the screen out and set it aside.
- Using a spudger, gently pry up the dock connector cable and remove it. Do this with extreme caution, as the cable is glued to the underside of the backing. Do not pull on the connector too quickly to avoid breaking it.
- Leave the wire in this position and go to the next step.
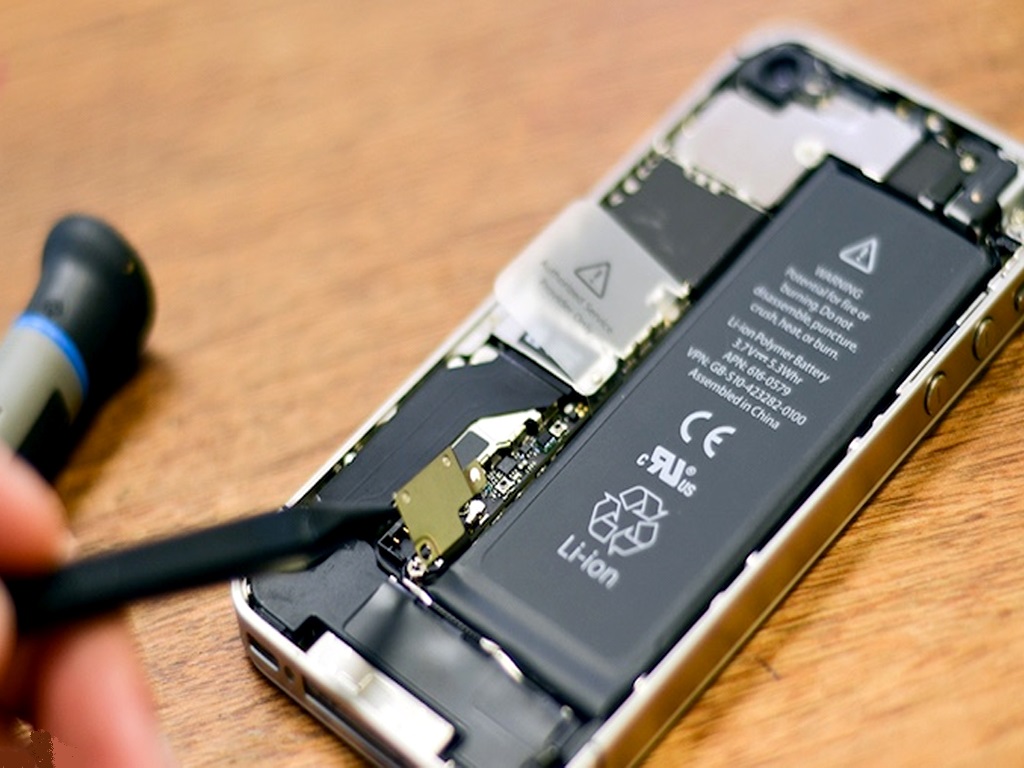
Bend the antenna
- Using the scapula, remove the circular antenna connector. It should detach easily.
- The antenna is wrapped around a metal clip. Unfold it gently so that it sticks up.
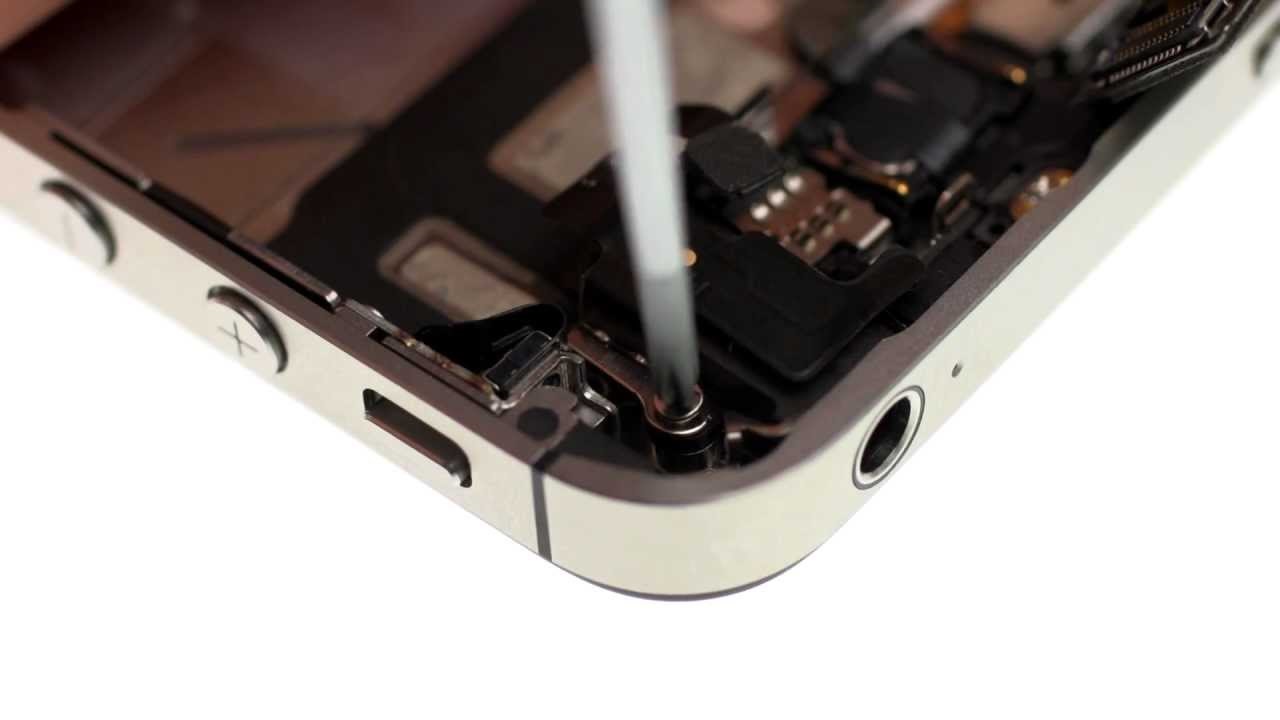
Take out SIM card and tray
interesting 6.1-inch iPhone 12 and iPhone 12 Pros to go on sale first Eighth beta versions released iOS 14 and iPadOS 14 for developers and public testers
Using a paper clip or special tool, remove the SIM card tray and set it aside.
Remove the logic board
- Use a # 000 screwdriver to remove the three screws on the top, middle, and bottom left of the logic board.
- Above the top screw, there is a section of tape above it that needs to be bent.
- When you remove the screws, you will notice a gold-colored grounding clip. Don't lose it.
- Use a flat-blade screwdriver to remove the two screws securing the logic board. They are located in its upper and lower right corners.
- It's time to remove the logic board from iPhone. On this day, the board needs to be lifted exactly upward, picking it up at the place where the rear camera was located, and at the bottom.
Remove the speaker module
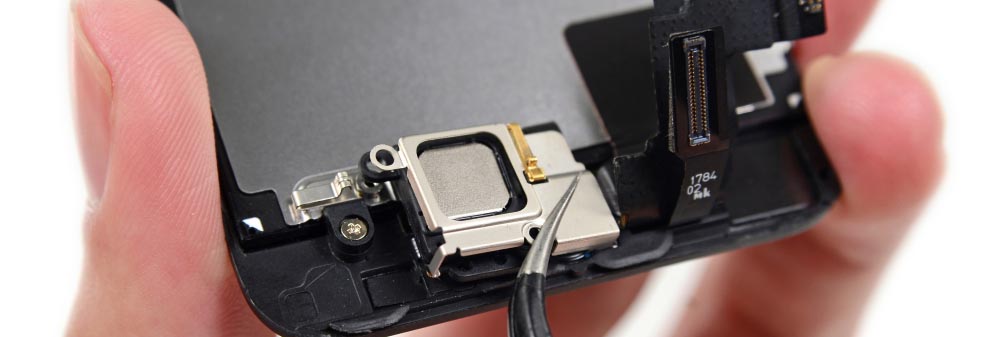
- The loudspeaker is held in place by two screws located on either side of the module. They can be removed with a # 000 screwdriver.
- There is a black triangular gasket under the screw on the left side of the speaker – don't lose it, you will need it for reassembly.
- Pull out the speaker carefully.
Separate the vibrator module
The vibrator assembly is held in place only with glue. Loosen the adhesive with a thin metal spatula and remove the vibrator. Be careful not to bend it.
Remove digitizer and LCD
At this stage, it makes sense to watch a video in which the display removal technique is clearly visible.
- Holding the iPhone towards you, insert the spudger into the upper left corner and begin to gently break the adhesive under the display while sliding your tool back and forth, being careful not to bend the front panel as this will damage the LCD and / or digitizer.
- Once the top left corner is free, move to the top right corner and repeat the steps.
- After releasing the top of the construct, move down and repeat the same process on both sides of the Home button.
- Once the adhesive is broken, carefully peel the front off iPhone, being careful not to let the digitizer and LCD cables get caught in the frame.
Replace the Home Button Flex Cable
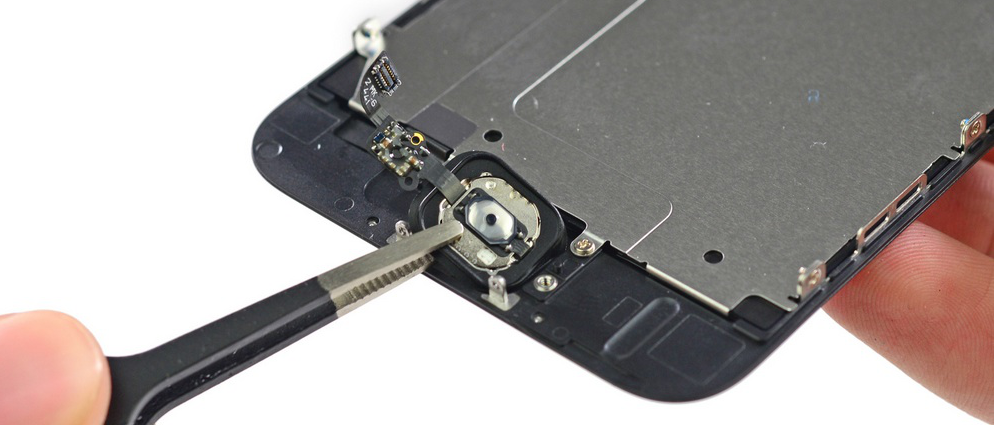
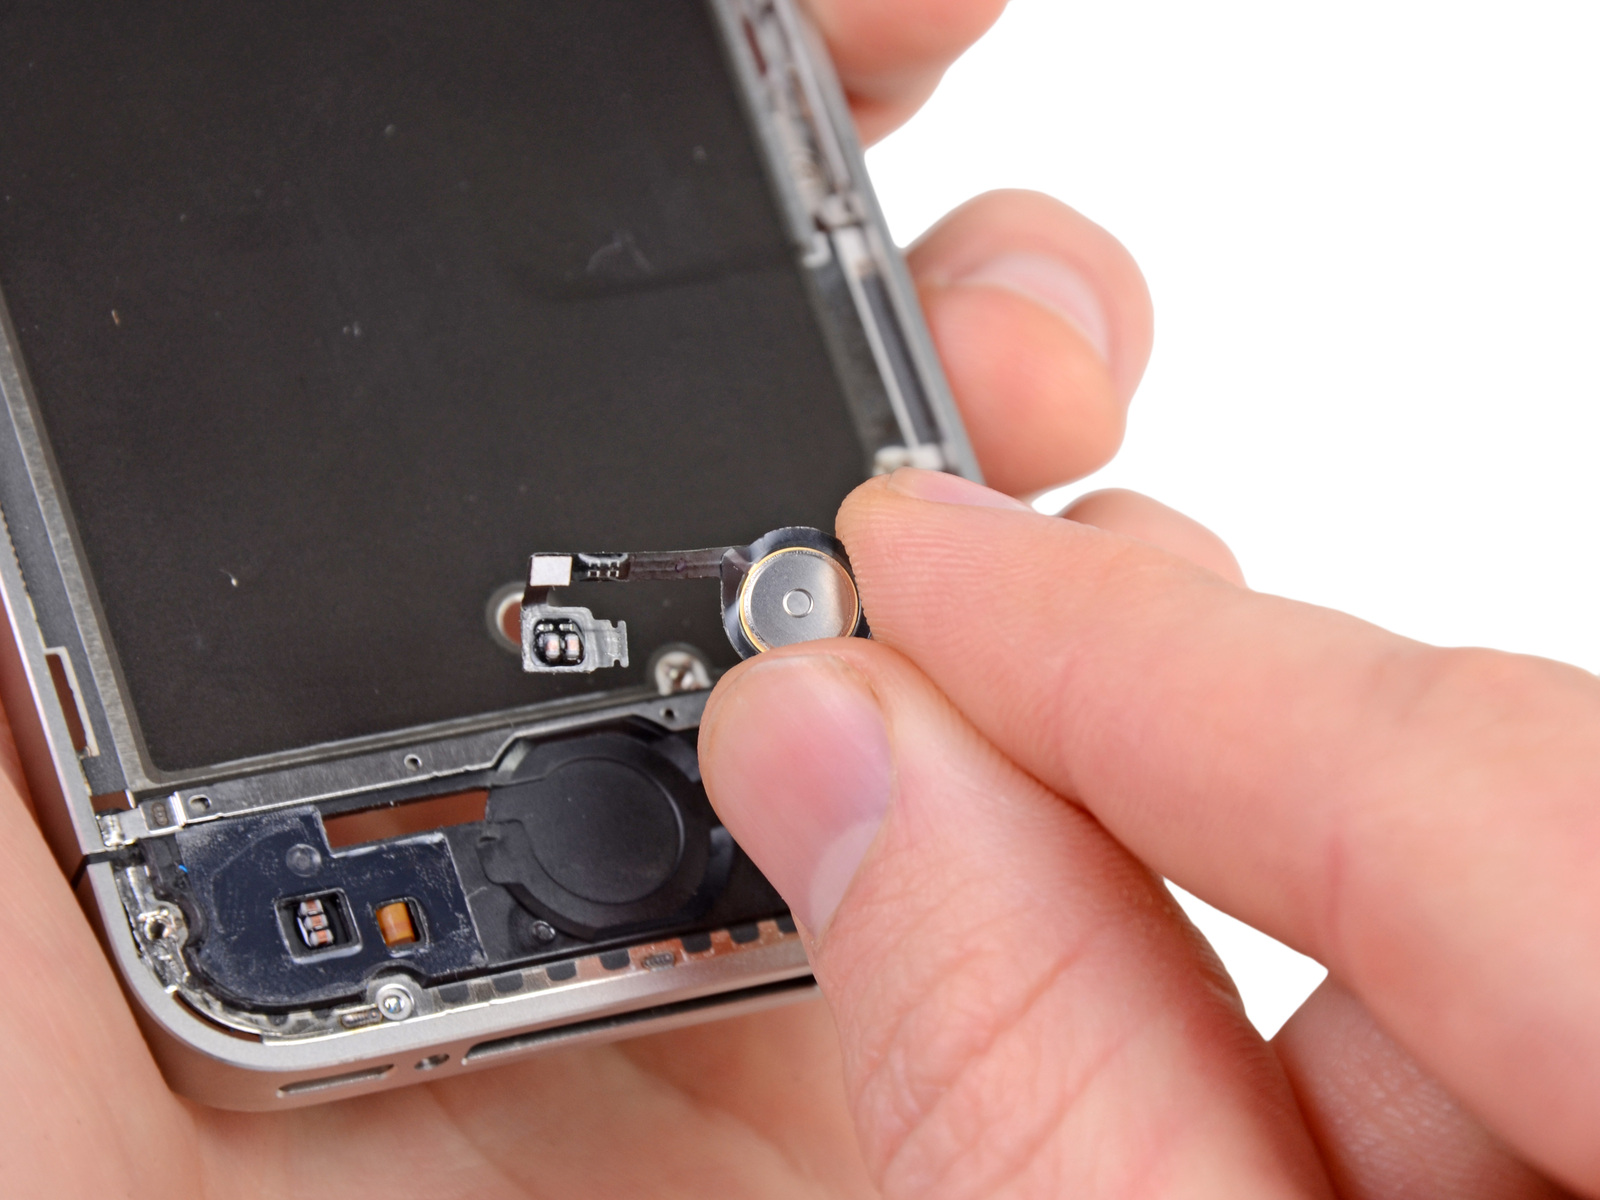
The home button flex cable is the problem, not the switch itself. Over time, it wears out and its contact is broken, which leads to incorrect readings by the system of single and double clicks. At this point, we will replace the problem cable.
- Hold your device by the center so you can see the inside of where the dock connector is. You will notice the bracket holding the home button harness. Lift it up with the assembly tool.
- Now you can pull the Home button cable out of the clip with your fingers or a handy tool.
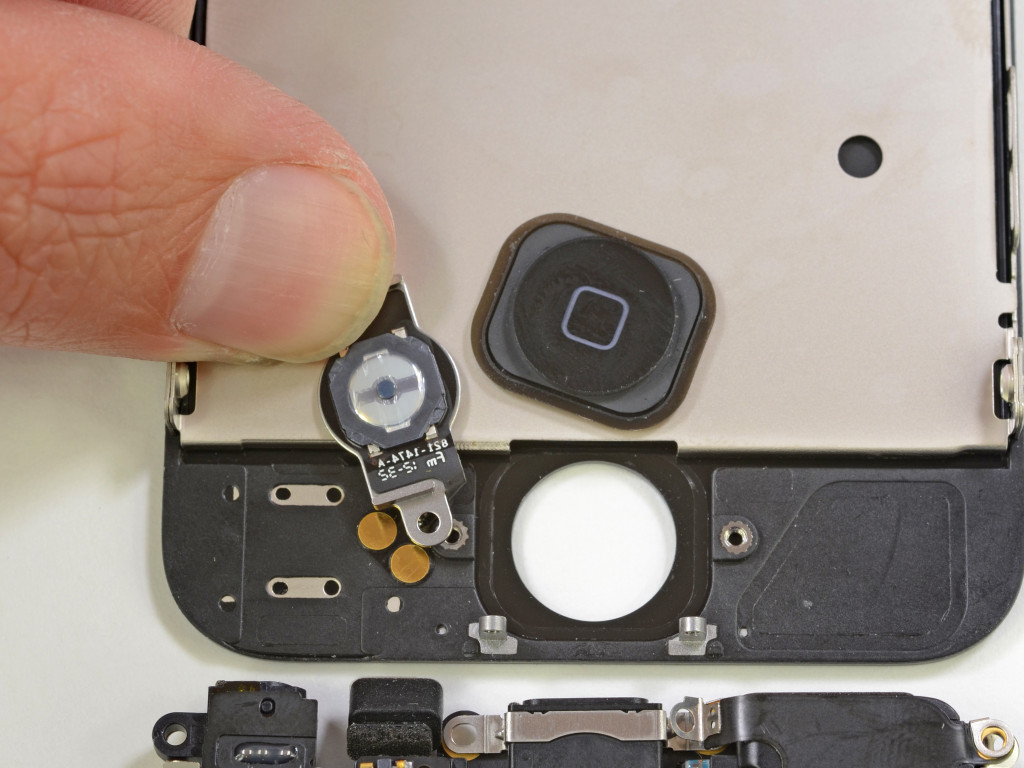
- Flip the bezel over and push the old cable out through the front.
- The remainder of the cable is held in place only by glue. You just need to pull it.
- Replace the old cable with a new one.
Put the gadget back together
Home button iPhone 4 updated. To reassemble iPhone, simply follow all the directions you just read, but now in reverse order.
Differences in 4 Series iPhones
From a consumer point of view, iPhone 4 and iPhone 4S are completely different devices. But when it comes to replacing the Home button, the only difference is that iPhone 4 does not have a SIM card tray.
