 Today's article is to help those who want to repair on their own, on their own, iPhone. Specialists from the MacPlus service center will show you how to independently replace the touchscreen using the example iPhone 4S. After reading this article, you can save a lot on repairing your pet.
So what do we need for this?
1 Pentalobe screwdriver for iPhone. 2 Small Phillips screwdriver 3 Slim flat screwdriver 4 Plastic spatula 5 Accuracy 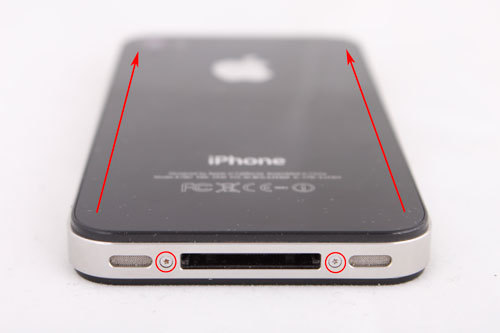 Take an iPhone, a Pentalobe screwdriver, unscrew the two bottom screws, slide the cover up and remove it.
 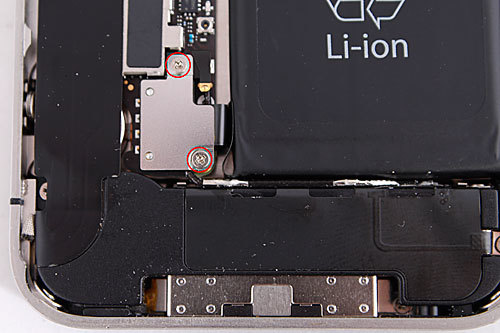 The first step is to disconnect the battery, so we unscrew the two battery protection screws, remove it.
 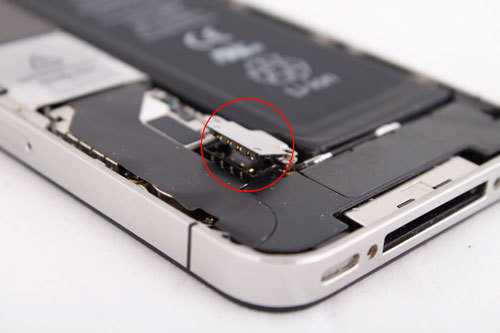 Disconnect the battery cable from the motherboard
 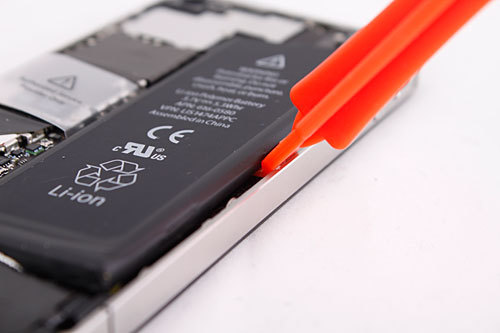 From the side of the case we hook up the battery with a spatula, carefully peel it off the case and remove the battery. If this is your first time taking apart your iPhone, you will notice that the battery is pretty tightly glued to the body. It's okay, walk with a spatula around the entire perimeter, put in a little more effort, but just don't overdo it!
  We unscrew the two screws to protect the power cable.
 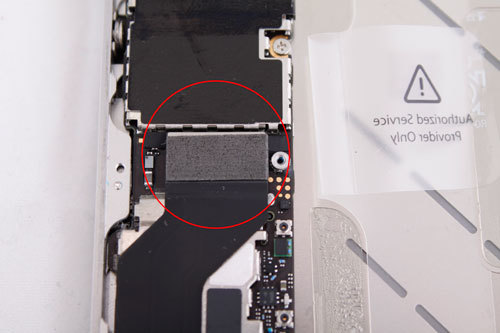 We disconnect the power cable, peel it off from the case, bend it back to the left so as not to interfere in the future.
 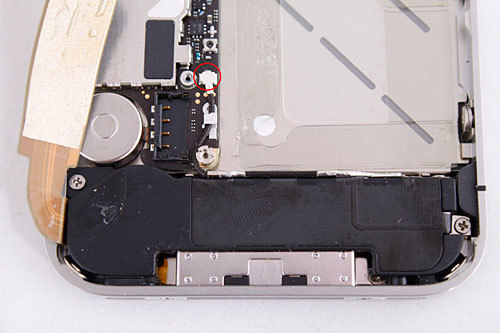 Disconnect the antenna cable from the motherboard.
 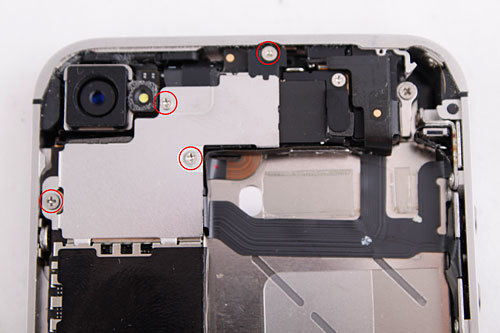 Unscrew 4 screws for protecting the loops on the motherboard, remove the protection.
 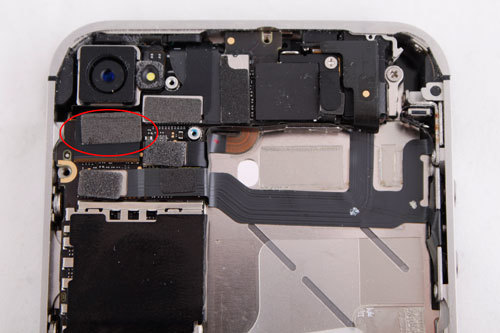 Disconnect the camera from the motherboard and remove it.
 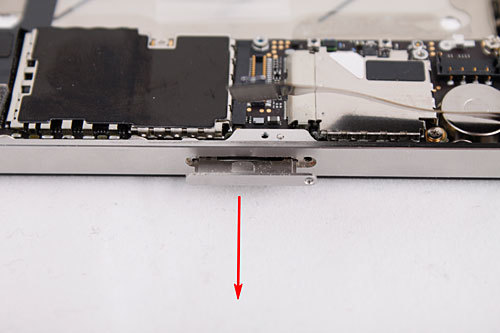 We remove the SIM card tray. If this is not done, then the motherboard will be impossible to remove.
 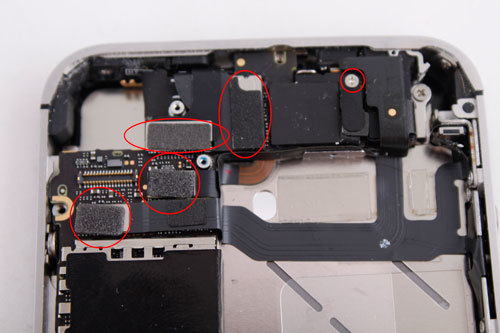 Disconnect the cables from the motherboard, unscrew the antenna cable protection screw.
 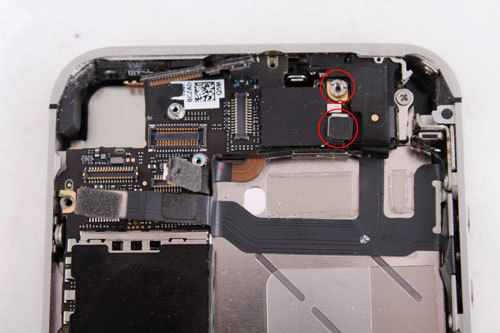 Disconnect the wi-fi antenna cable, and use a flat screwdriver to unscrew the screw just above.
 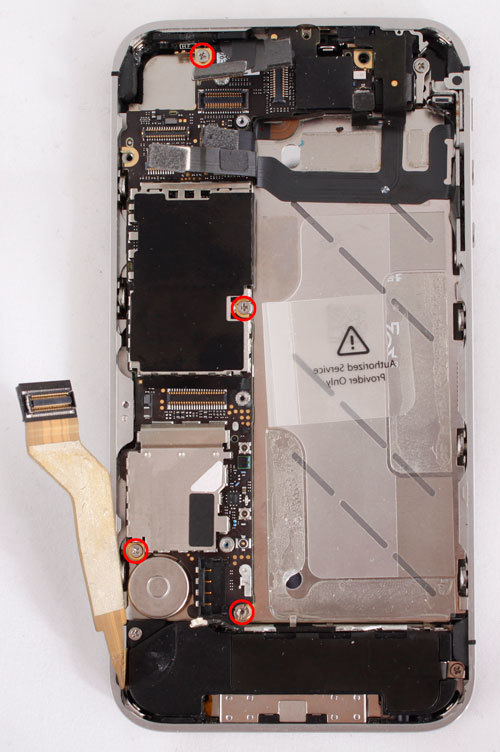 Unscrew the 4 screws of the motherboard.
 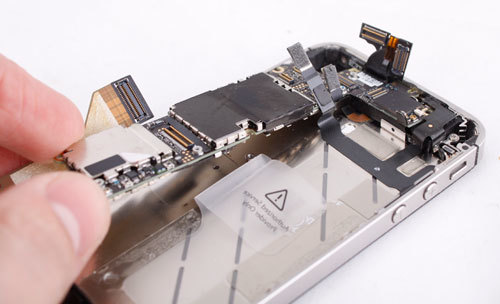 We remove the motherboard.
 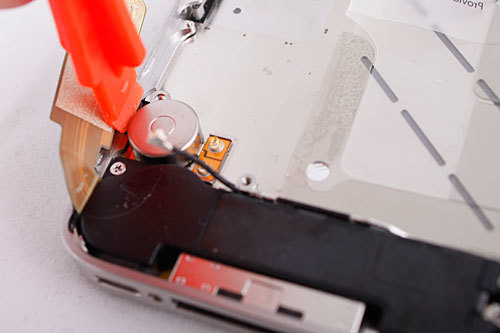 Use a spatula to pry on the vibration motor, peel it off the body and remove it.
 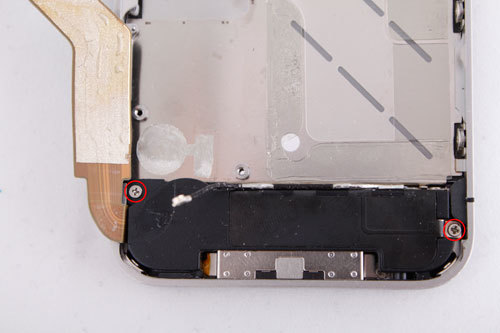 We unscrew the two screws from the speakers. Don't lose the black plastic that is under the left screw.
 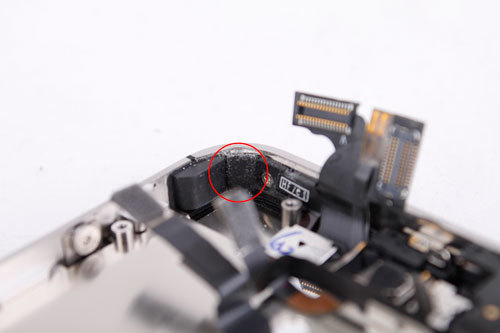 In the upper left corner, peel off the tape, under it is the screw that holds the touchscreen.
  Unscrew 4 screws in the corners, two of the lower corners …
 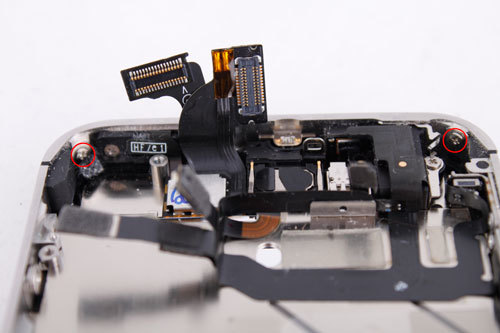 … two of the top ones.
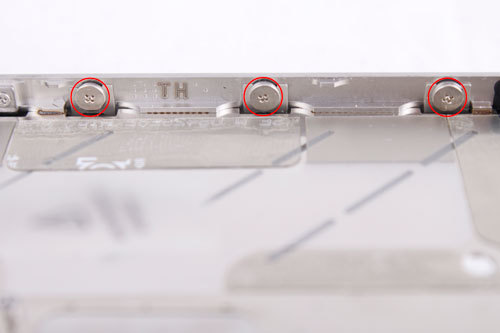
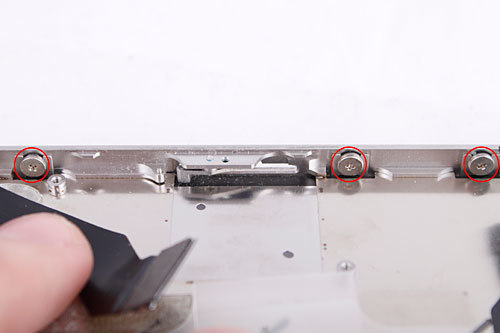 Unscrew three screws on each side. They do not have to be completely unscrewed as they simply hold the touchscreen.
 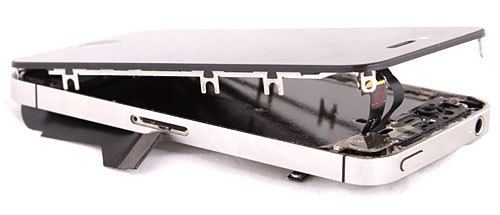 Pry off the touchscreen with a spatula and lift it up. Be careful with the touchscreen loops, they can catch on and get damaged.
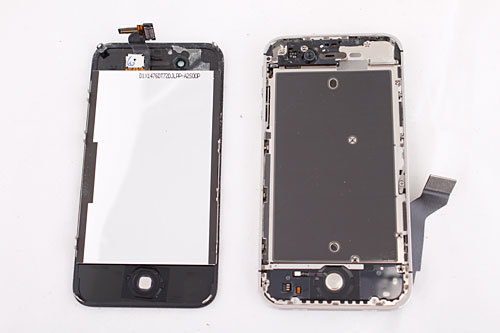
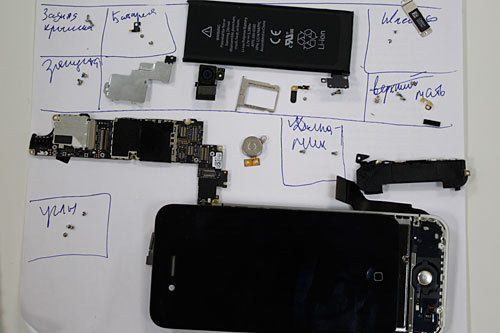 That's all, the touchscreen has been successfully removed, now put a new one and repeat all the steps in the reverse order. When assembling, pay special attention to the matrix and touchscreen cables, make sure that they are fully pushed into the slot and do not bend when you press the touchscreen against the body. To make it easier to assemble, I recommend drawing a diagram, as in the last photo. If you have any difficulties, our masters can replace the glass iPhone 4s for you.