Experts advise not to disassemble iPhones on your own because of the likelihood of damaging the internal filling of smartphones. However, if we are talking about old models, then the risk is justified with the correct organization of work. In the article, we will talk about the first stage of parsing the iPhone 5 smartphone – how to remove the back cover so as not to damage the internal elements. At the end of the article, a video is added with the stages of disassembling a smartphone.

Preparation before parsing
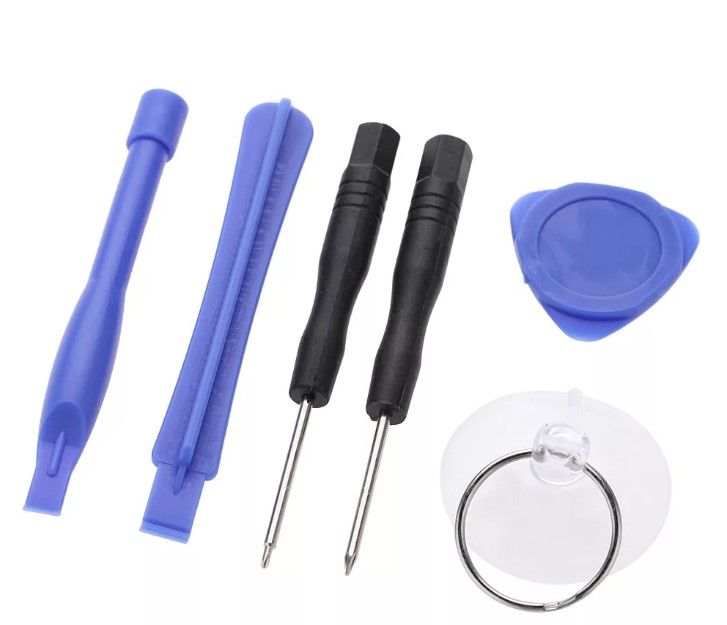
Before removing the cover from the iPhone 5s, prepare your work area and tools. Better to use a special parsing kit iPhone. Many sites sell these inexpensive kits. To detach the screen and free the back cover from the 'stuffing', the following tools are required:
- Five-blade pentalobe screwdriver 0.8 mm.
- Phillips screwdriver set for 1.2, 1.3, 1.7, 2.4 and 2.8 mm screws.
- Suction cup or iSclack tool for removing the display.
- A plastic spatula or pick.
- Tweezers.
- Thermal bag.
Discharge the battery to less than 25% and turn off the smartphone before removing the cover from the iPhone. Remove the SIM card tray. You are now ready to be disassembled.
Removing the iPhone cover
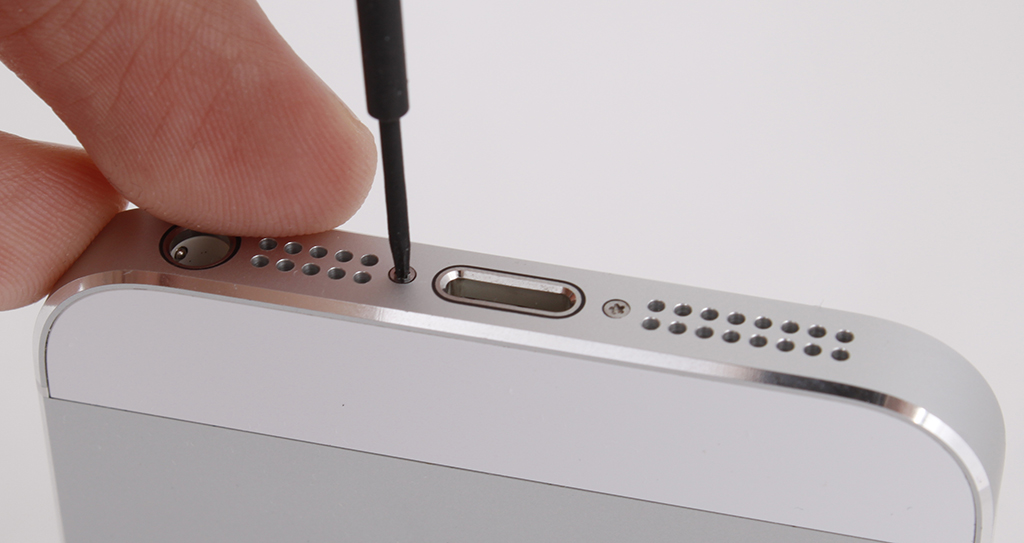
Let's start by removing the two pentalobe screws on the bottom of the phone on either side of the charging connector.
interesting 6.1-inch iPhone 12 and iPhone 12 Pro will go on sale first FAS will start another check Apple
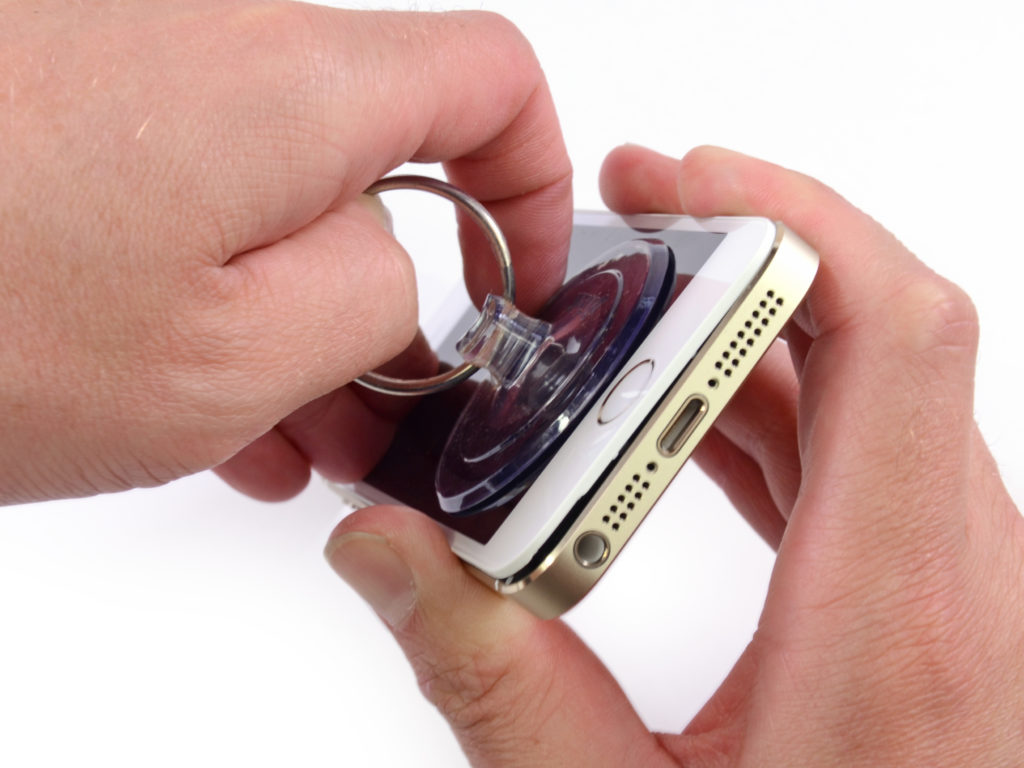
After removing them, attach the suction cup to the screen just above the Home button, pull, and insert a plastic spatula into the gap formed. Starting from the bottom of the smartphone, gently squeeze the back cover along the perimeter of the smartphone, but do not remove the entire screen – it is attached with several loops on the top and bottom of the phone.
Be careful not to pull the cables under tension. Unfasten and remove the cover covering the Home button ribbon cable connector. Pull out the connector.
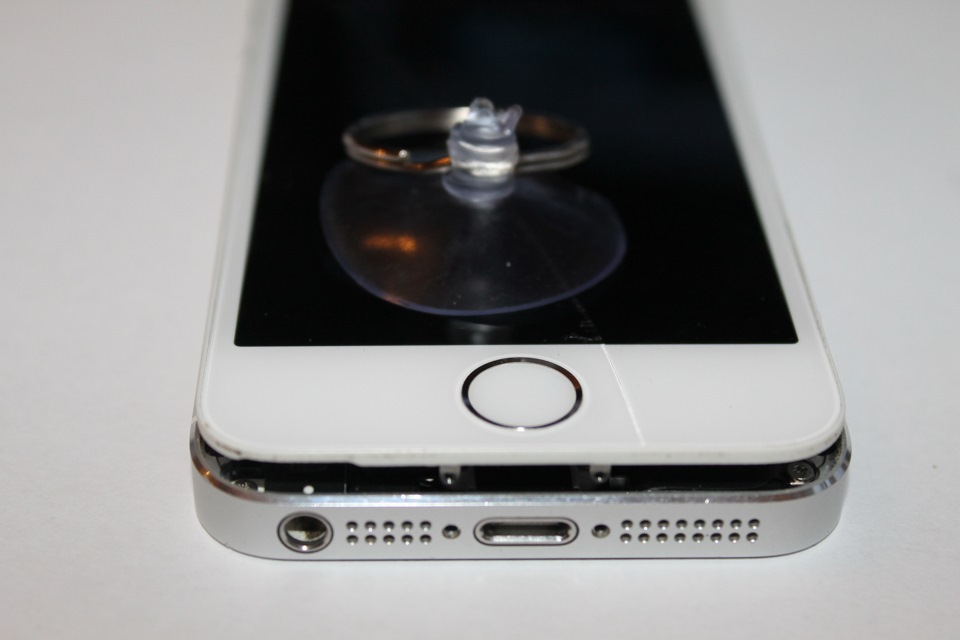
Now carefully fold down the screen without pulling on the upper cables. Before removing them, disconnect the device battery. To do this, remove the protective cover of the battery connector, pull out the connector from the motherboard. The smartphone is de-energized – you can disconnect the cables of the screen, touchscreen and front camera. The connectors are covered with a protective plate, which is secured with four screws. Unscrew them, carefully peel off the connectors of the cables and remove the display.
What's under the cover
So, we learned how to remove the back cover on the iPhone 5, but microcircuits with control elements are mounted on it. Therefore, to replace the case, you must remove them. The further sequence of actions is as follows:
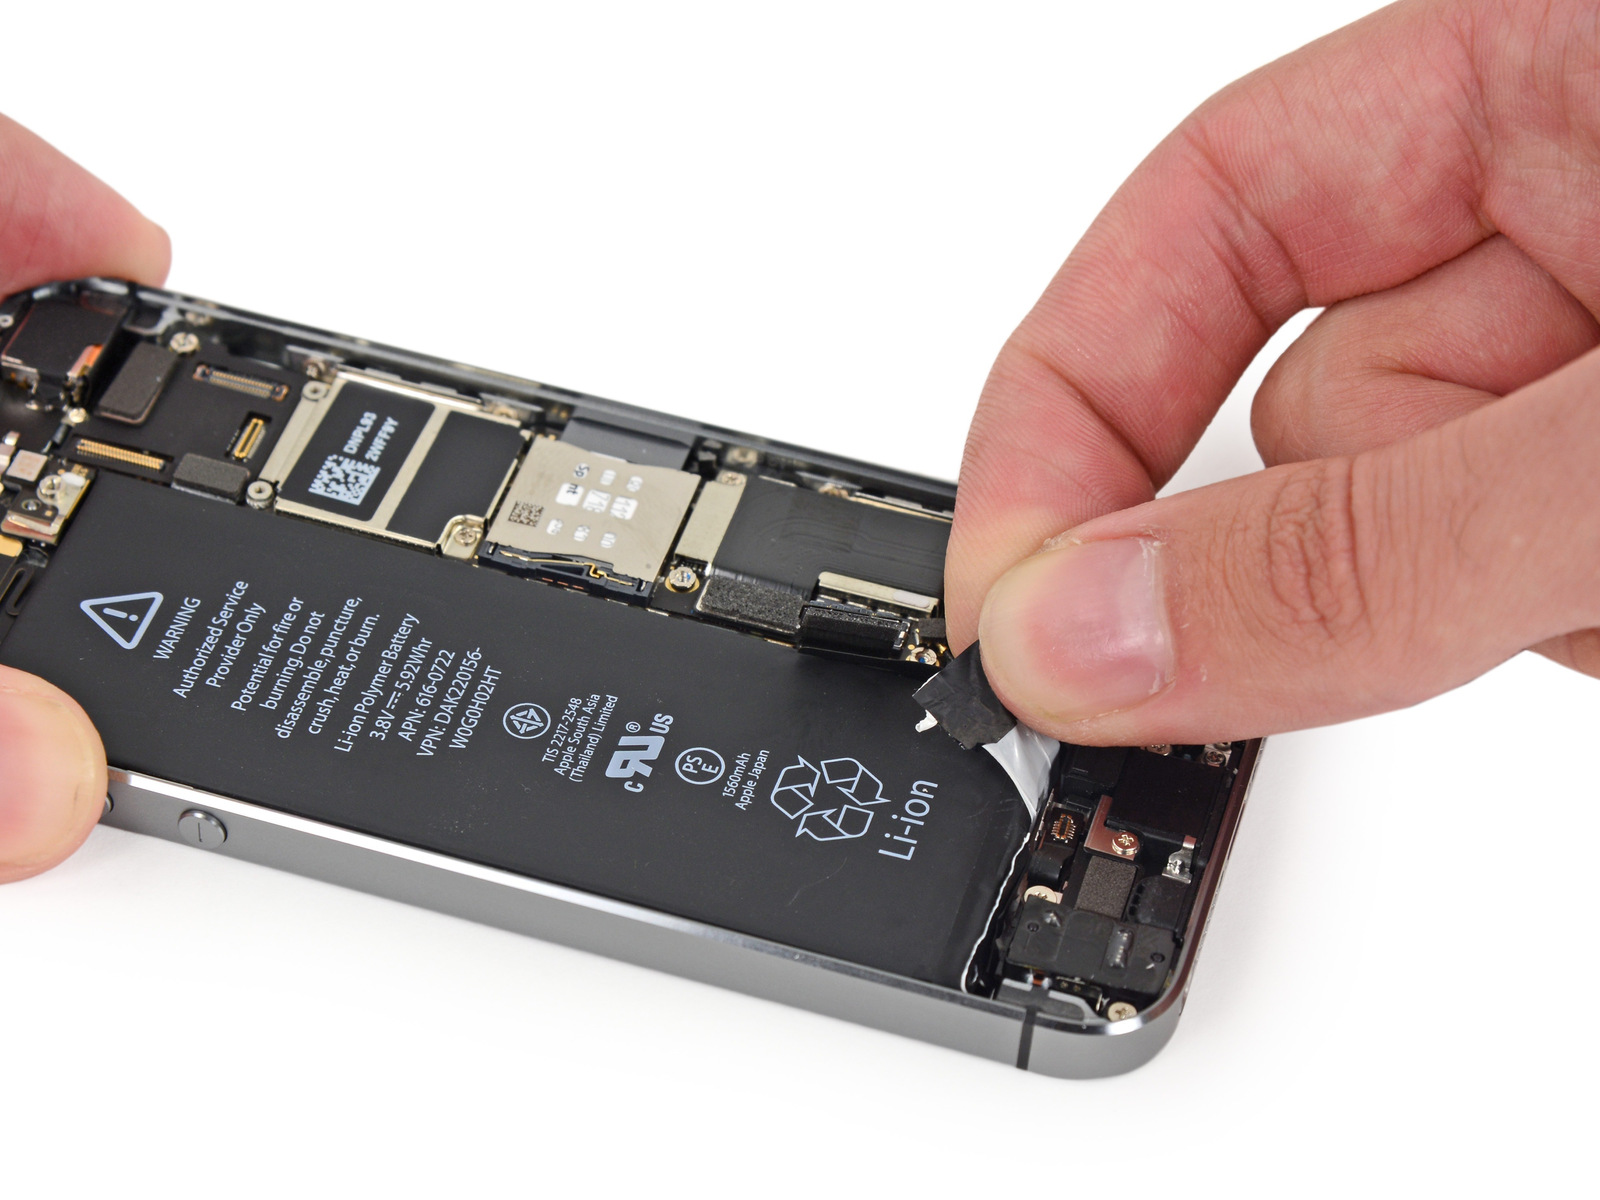
- Use a heat strap or hair dryer to soften the adhesive that holds the smartphone battery. Pull out the adhesive strips from the top and bottom of the battery. Use a plastic spatula or a pick to remove the remaining adhesive underneath and remove the battery.
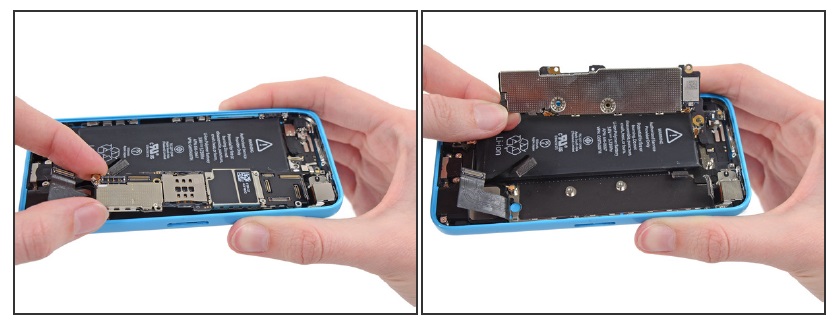
- Disconnect the connectors to free the motherboard. Starting from the top of the smartphone, we take out the rear camera connector, the power button connector, the charging port flex cable, the antenna cable.
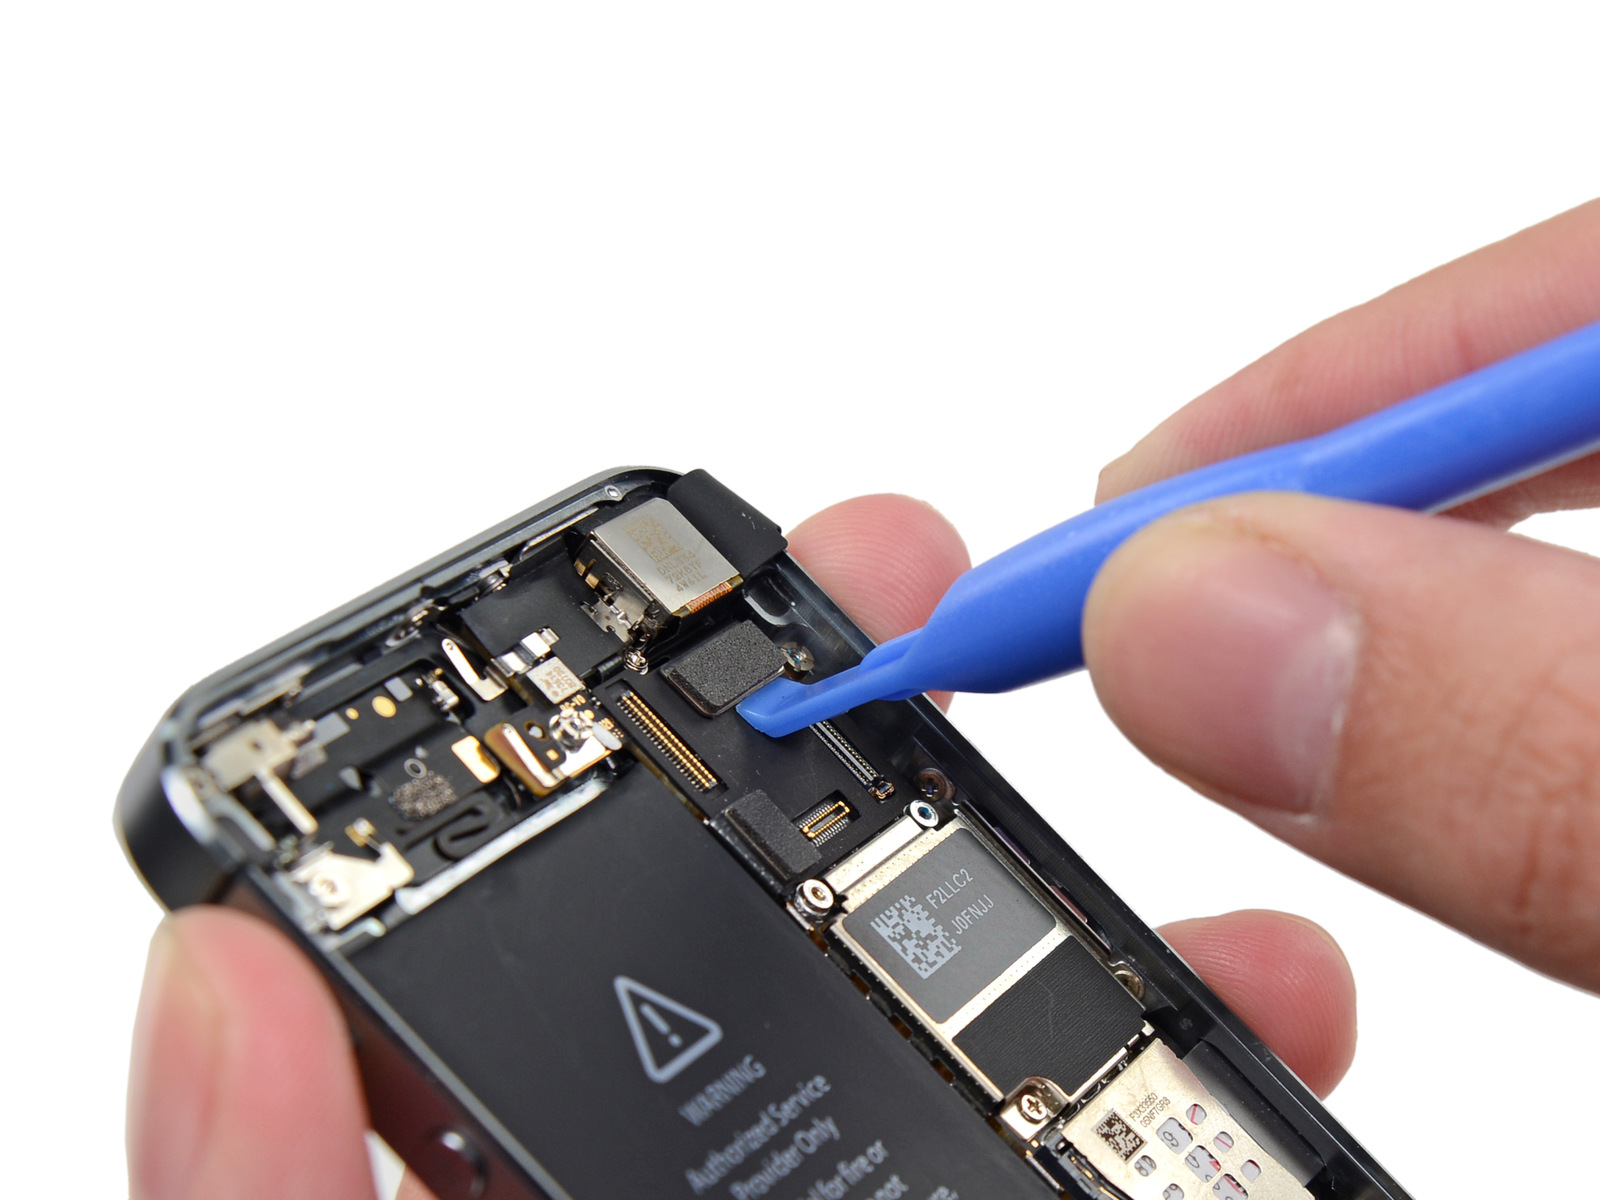
- Unscrew the seven screws that secure the motherboard to the back cover. We slightly move the main microcircuit down, carefully turn it over, like a book page to the left – under it is the upper antenna connector. Pull it out and remove the motherboard.
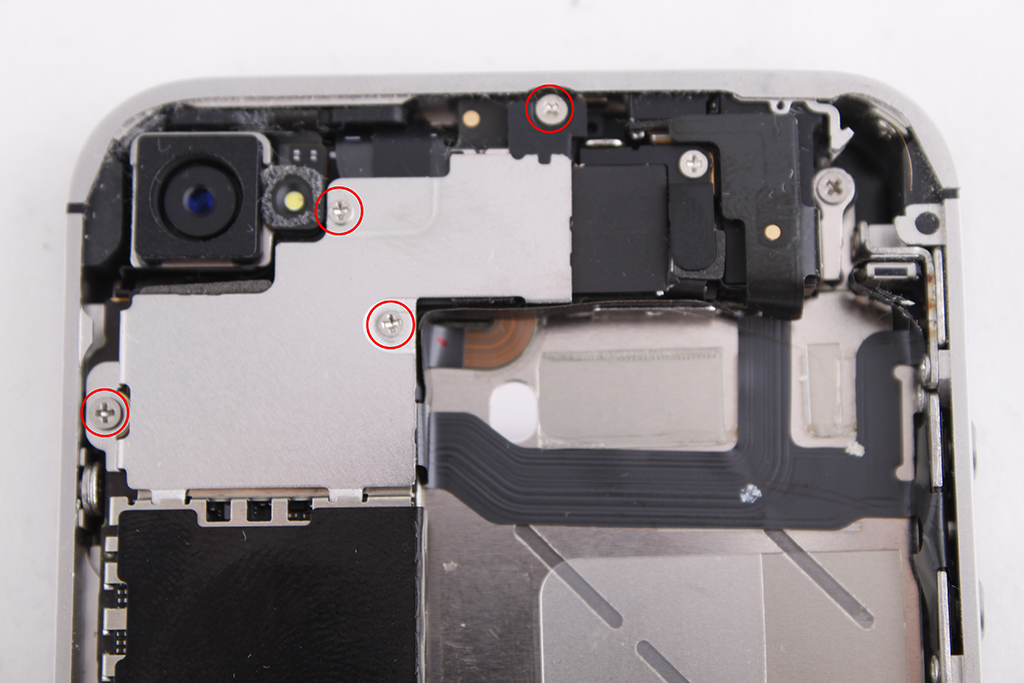
- Now let's remove the elements at the top of the smartphone. We unscrew the two screws, remove the metal cover of the rear camera and the rubber gasket. Remove the vibration motor plate (on the left side of the smartphone it is attached with two Phillips screws). We unscrew the additional screw, take out the motor. We remove the volume control buttons by unscrewing the mounting screws and carefully squeezing the pressure plate away from the case. Loosen and remove the antenna brackets and Power buttons (screws at the top center of the rear panel). Use a spatula or a pick to detach the glued top ribbon cable from the body. Then pull out the power button.
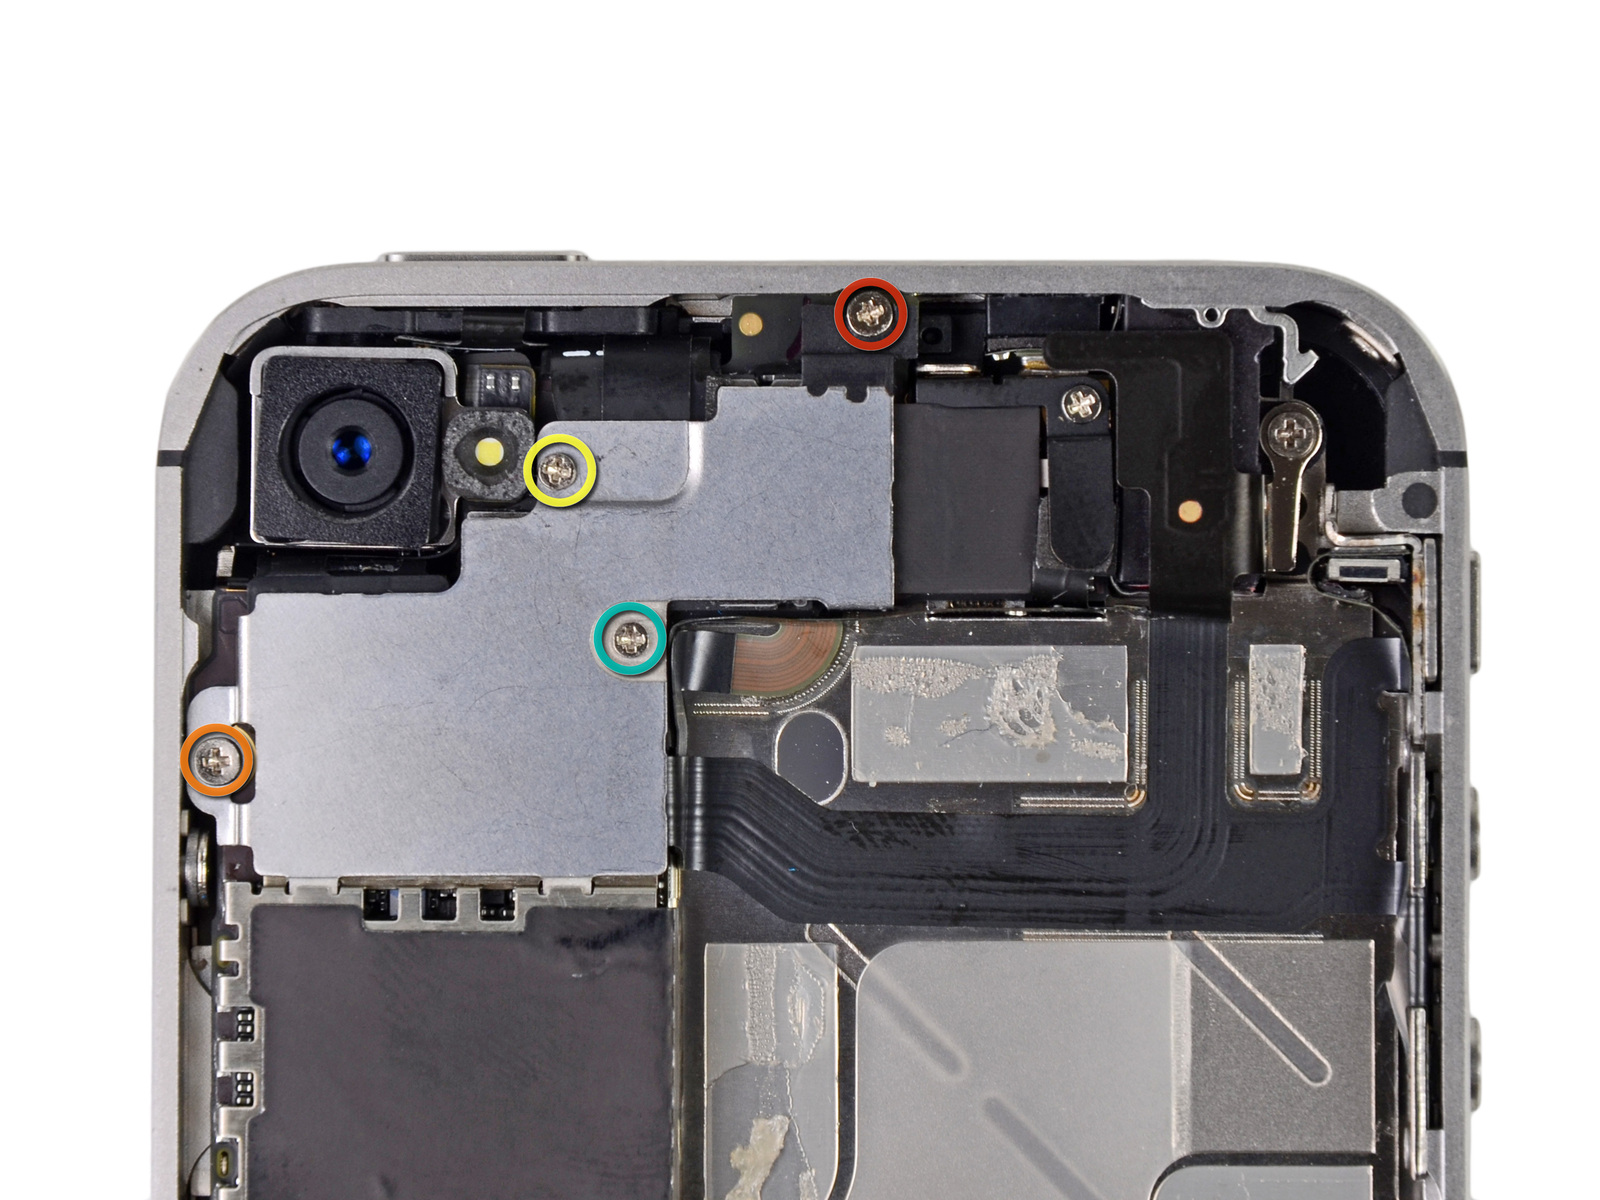
- Moving on to the bottom of the case. Remove the seven Phillips screws that secure the bottom speaker to the Lightning cable. First remove the speaker and then use a spatula to carefully peel off the ribbon cable with all the components.

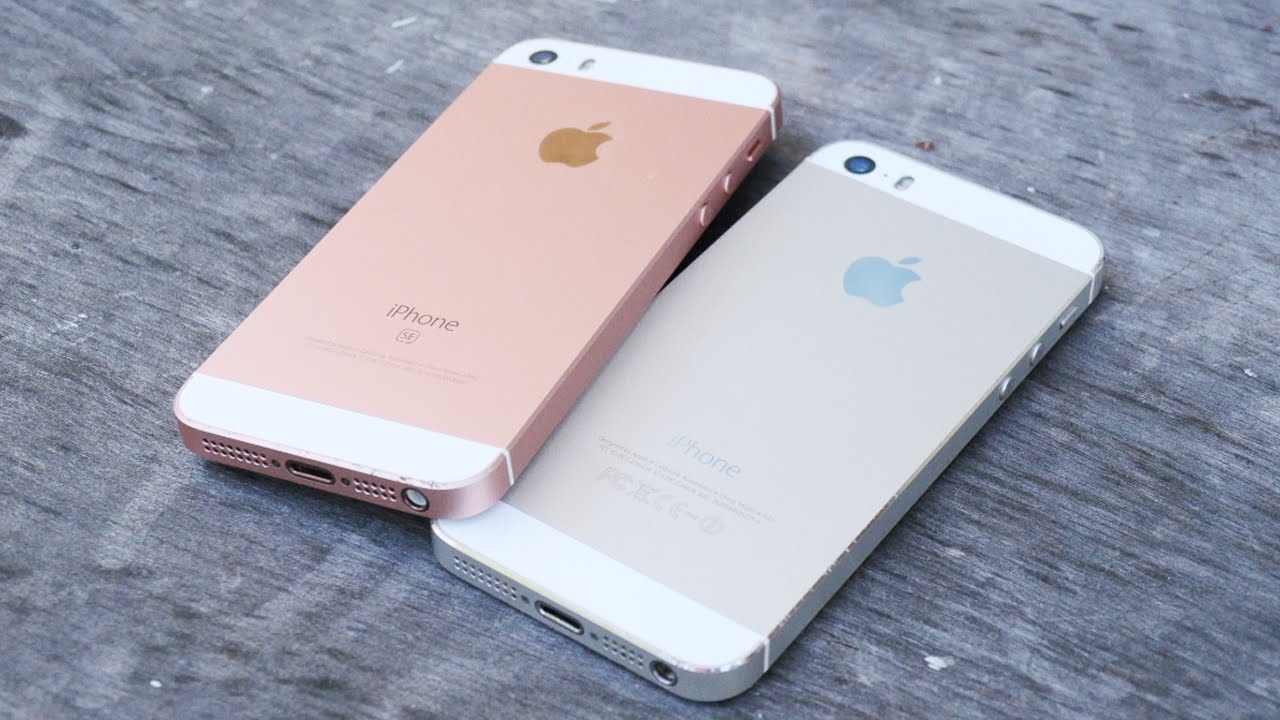
This completes the disassembly. You can replace the housing cover and reassemble in reverse order. Note that the differences between the models of the fifth series are minimal, so the disassembly of the iphone 5 and 5s or SE will not differ much.
Features and common mistakes when replacing the case
It is important to know not only how to remove the cover on an iPhone 5 or ce, but also how to avoid common mistakes when dismantling elements. Let's look at the main problems:
- Don't overdo it. If the connector does not come out of the connector, be sure to hook it up and not the mount itself. When peeling off the cables or the battery, do not pull strongly – it is better to warm up the area again with a hairdryer.
- Do not mix up the mounting screws as they are different sizes. If you screw a larger screw into an inappropriate hole, you can damage the motherboard.
- Do not lose rubber pads, metal brackets, and washers. Without them, the quality of the assembled device will suffer.
- Well, and most importantly, take your time. Disassembling a smartphone Apple must be done very carefully using a special set of tools.
