Failure of the charging connector is a fairly frequent malfunction of smartphones Apple. In our article we will tell you in detail what to do in this case and how to replace the iphone 5s charging connector.
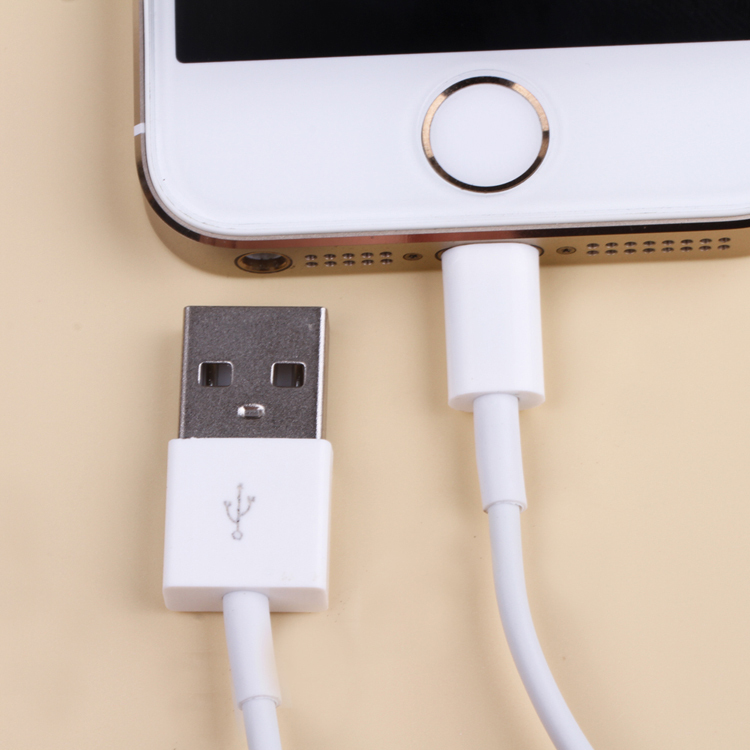
The Lightning connector is a universal connector that charges the device and transfers all digital information when connected to a computer. It is used constantly, therefore it often fails – the phone stops charging, is not detected when connected to a PC. In this case, the part needs to be replaced and in the article below we will provide comprehensive information on how to change the charging socket on the iphone 5s.
Breakdown reasons
Due to the fact that the equipment Apple is equipped with low capacity batteries, it needs to be recharged daily. The constant connection of the cable, jerks, falling dust, all this leads to the fact that the connector starts to work intermittently or completely breaks down and requires replacement of the iphone 5s charging connector. In addition to mechanical damage due to daily use, we will highlight several more classic reasons:
- Fall or strong blows.
- Ingress of moisture into the housing.
- Use of non-original accessories of questionable quality.
- Power surge during charging.

Solutions to the problem
It is impossible to use a smartphone with a non-working Lightning connector, so the only correct solution would be to replace the iphone 5s charging socket. You can contact the service center, but if you are a 'jack of all trades' and are not afraid to completely break your smartphone, try replacing the module yourself.
By yourself (instruction)
Replacing the iphone 5s charging cable will require the following tools: a 0.8 mm pentalob screwdriver, a 1.2 mm Phillips screwdriver, a suction cup for removing the screen, tweezers, a flat (preferably plastic) tool for opening the case and removing the connectors. Before repairing, discharge your smartphone battery to less than 25% and then turn off your phone. For clarity, at the end of the article there is a video with all the described steps to replace a part.
Step 1. Unscrew the bottom (end) pentalob screws on either side of the connector.
Step 2. Attach the suction cup to the screen, gently pry the case and pull with even force without jerking. The front of the display is connected to the rear panel with ribbon cables – do not tear them.
interesting 6.1-inch iPhone 12 and iPhone 12 Pro will go on sale first Now officially: announcement of iPhone 12 will take place in a week
Step 3. Unfasten the bottom Touch ID ribbon and carefully fold the display part – on top it is still held by the touchscreen ribbon cables.
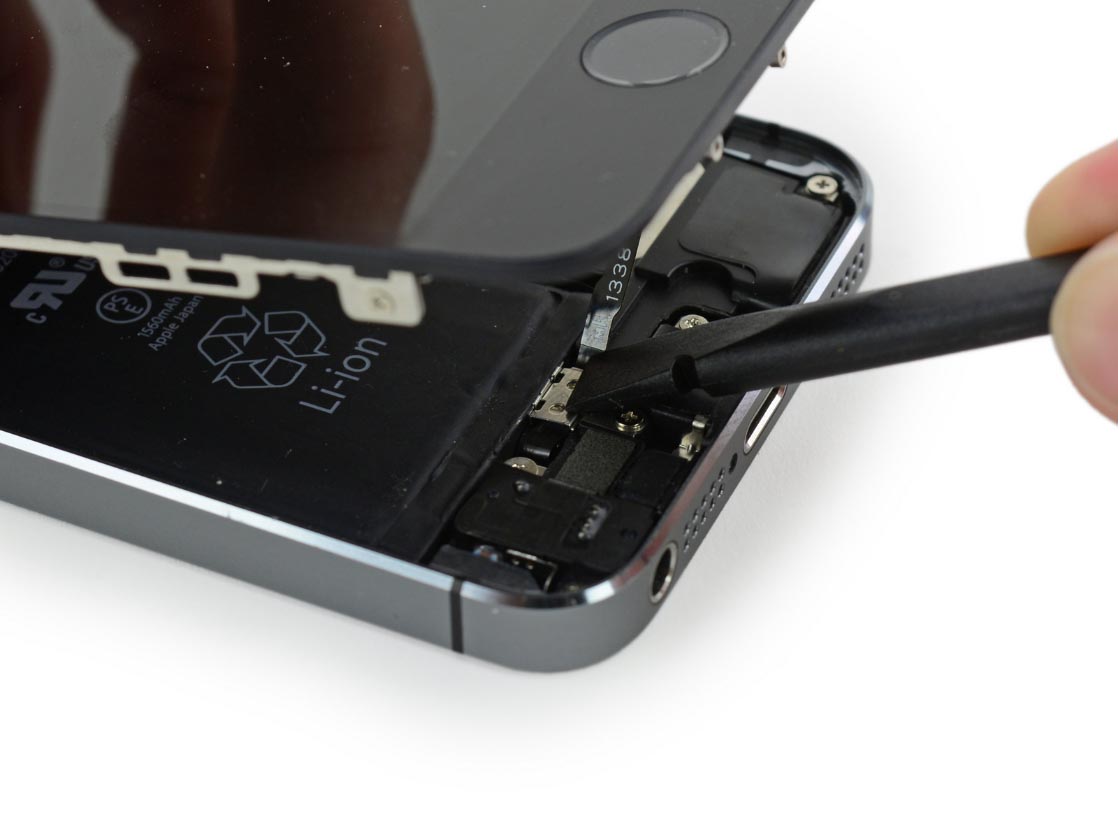
Step 4. Remove the battery connector. To do this, unscrew the metal cover on the bottom right of the battery, then use a flat tool to disconnect the connector from the motherboard.
Step 5. Unscrew the protective cover of the touchscreen flat cables from the top of the case. The screws that hold the cover are of different sizes. Do not mix them up when assembling so as not to damage the motherboard. After removing the cover, pull the connectors out of the sockets on the board.
Step 6. Unclip the antenna cable that is located under the battery slot.
Step 7. Remove the three Phillips screws that secure the bottom speaker. Pry it gently and pull it down and to the left with a slight movement to release the top plastic tab from under the motherboard. Then slide the speaker up and to the right to slide the second holder out from under the ribbon connector on the Home button.
Step 8. Remove the remaining four screws from the bottom — the last that hold the power connector block in place. Use a pick to gradually separate the Lightning cable from the motherboard and back of the case.
Keep all parts of the connector as a number of features may be missing on the new part. This is usually a rubber speaker cover, a headphone jack bracket, a Touch ID bracket. Replace the broken part with a new one and then reassemble the phone in reverse order.
Contacting the service center
If the instructions for self-replacement seemed difficult, then entrust this procedure to professionals. Moreover, the cost of the assembled spare part (together with the microphone) and the service itself is not high. The service center will diagnose the device, establish the cause (if it’s not the loop itself or the problem is complex) and replace the broken part. Certified centers will provide a long-term repair guarantee.
Self-replacement video: