
Not all owners iOS of devices need to create their own screencasts or, more simply, record video from the screen iPhone. However, sometimes such a need may arise. For example, when creating short information videos, recording overview videos, etc. In this article, we will look at several methods of recording screencasts from iPhone.
A few years ago, the process of recording what was happening on the screen of an apple gadget was quite complicated. Users had to either jailbreak or install a number of third-party applications. Now the situation has changed somewhat.
Method 1: for those who have iOS 11
Starting with iOS 11, all Apple devices have a very entertaining option – the ability to shoot a video from the iPhone screen. Many people will never use it, and some people, for example, those who record videos about games for YouTube, this function is simply necessary. Previously, you had to look for third-party software in the AppStore, but now the developers Apple have saved users from this need.
So how do you start recording a screen iPhone or iPad? To do this, you must first bring the application widget to the control panel. To do this, go to the settings, scroll through the menu to the 'Control Center' line.

Then click on 'Configure Ale. Management '.
Here you are required to click on the green plus sign opposite the 'Screen Recording' item.
Everything should look like this:
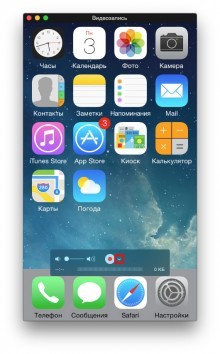
After these actions, we swipe from the bottom and see a widget with an icon, which shows a bold point in a circle.
To just start shooting, click on it. After 3 seconds, everything that happens on the monitor will be recorded. If you briefly hold down the widget, additional settings will open where you can turn off the microphone.
Clicking the icon again will stop shooting. The video file can be found in the 'Photos' folder.
Method 2: for Mac owners
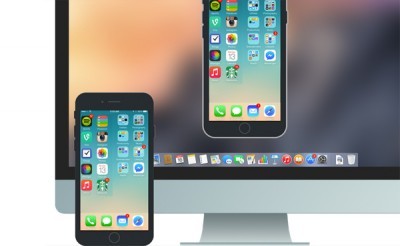
After the release of OS X Yosemite, owners of apple computers have the opportunity to shoot video from the iPhone screen without resorting to the help of third-party applications. To record you need:
1. Connect your mobile device to Mac using the supplied cable.
2. Launch the QuickTime application.
3. In the File menu, select New Video.
4. In the window that opens in the lower part, press the button (checkmark) located to the right of the start recording button.
5. In the drop-down list that opens, select iPhone as the camera. Users can also select the sound source – a stock Mac microphone, sound from a mobile device, or a third-party source.
6. Click on the record button.
A distinctive feature of this method is a stable connection between the i-device and the computer, so that there will be no noticeable freezes on the video. However, this method is only suitable for owners of apple computers with OS X Yosemite (or higher). You will also need iPhone running under iOS 8 to write.
Method 3: the Reflector program
Also, video recording from the screen iPhone can be done using third-party applications. One of them is Reflector. Immediately, we note that this utility is available on the two most popular desktop platforms – Windows and OS X – and has a free version with some restrictions.
interesting 6.1-inch iPhone 12 and iPhone 12 Pro will go on sale first Now officially: announcement of iPhone 12 will take place in a week
Simply put, Reflector emits an AirPlay receiver. And thanks to the 'Video Replay' function, users can display on the computer screen everything that happens on iPhone. The app also has a recording function.
Separately, it should be noted that Reflector does not have its own main window. After launch, users can make some settings related to the quality of the resulting image, if necessary, set a password when connecting, etc.
To start recording, in addition to launching the application on a desktop computer or laptop, you need to do a few simple manipulations with your mobile device:
1. Open the Control Center (swipe from the bottom of the screen).
2. Go to AirPlay.
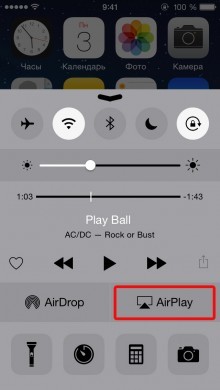
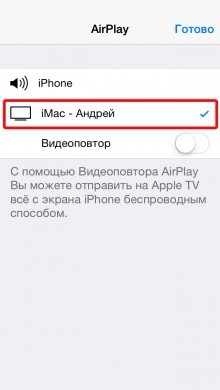
3. Select a computer as a source.
4. Activate the 'Video replay' function.
After these manipulations, a new window will appear on the computer, in which everything that happens on the screen of the mobile device will be displayed. It will also have hotkeys to start recording a screencast.
It should be noted that for this method to work, the mobile device and the computer must be on the same Wi-Fi network. Otherwise, you will not be able to connect the devices to each other.
In addition, the 'smoothness' of the picture will directly depend on the quality of Wi-Fi. With a weak or slow wireless connection, recordings may freeze, freeze, or 'swallow' part of the picture.

As mentioned above, Reflector is a cross-platform solution. With this utility, users can record screen video iPhone on Windows and Mac.
You can download the trial version of the application on the official website of the developer. However, now it has rather strict restrictions. In particular, the trial version will only work for seven days, and when the video is recorded, a large 'watermark' Reflector will be located in the center of the screen. You can remove restrictions by purchasing the full version of the application for $ 15.
Method 4: – iTools program
If there is no connection to the wireless network, owners of computers based on the operating system Windows can use the third method. In this case you will need iPhone, cable and iTools app.
iTools is a fairly popular utility from Asian developers. The application is an alternative to Apple's iTunes media combine. But unlike the program from the company Apple, iTools has wider functionality. For example, it allows you to record screencasts with iPhone and iPad.
For this you need:
1. Download and install the iTools app.
2. Connect iPhone to the computer using the supplied cable.
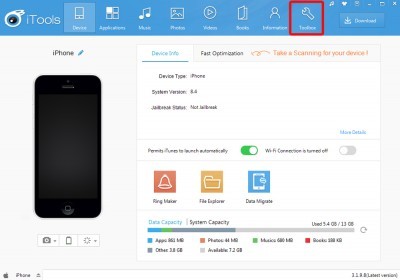
3. In the main application window go to the Toolbox tab.

4. Select the Real-Time Desktop item.
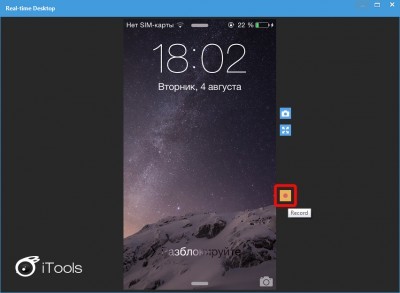
5. In the window that opens, press the Record button.
6. Select recording parameters (quality and folder where the recording will be saved).
However, it is worth noting that in the case of screencast recording using iTools, it is better to refuse to shoot games or quickly move between windows in applications. The utility simply does not keep up with the animation on the screen iPhone, which is why slowdowns will be noticeable in the final video, and some frames may 'drop out' completely.